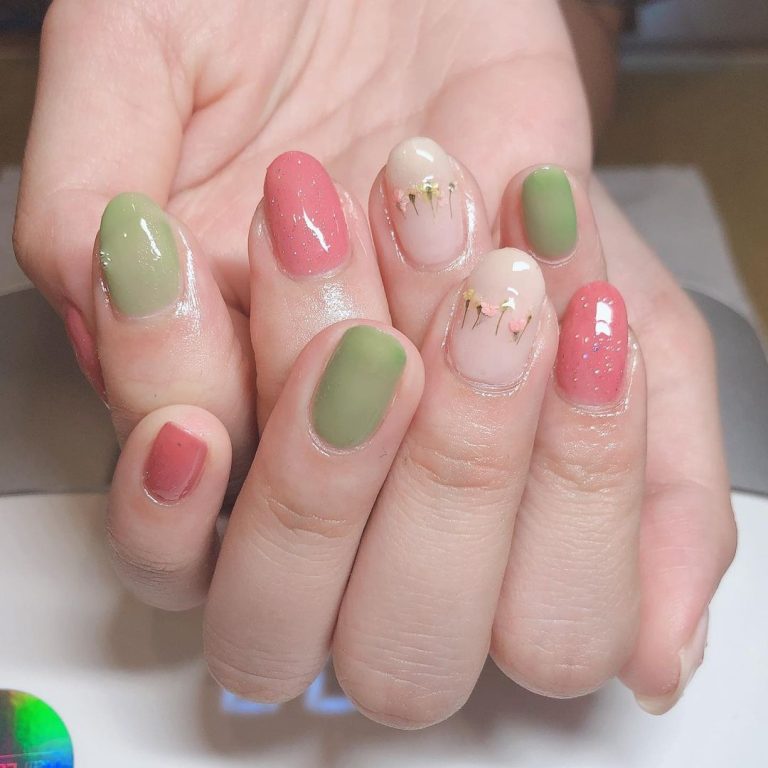
When it comes to gel nail designs, the sky is the limit. Whether you’re looking for something simple and chic or bold and festive, there’s a gel design out there to suit your style. What’s more, gel nails are incredibly versatile and can be easily customized to match any outfit or occasion. Here are a few of our favorite gel nail designs for every season.
Gel Nails for Spring
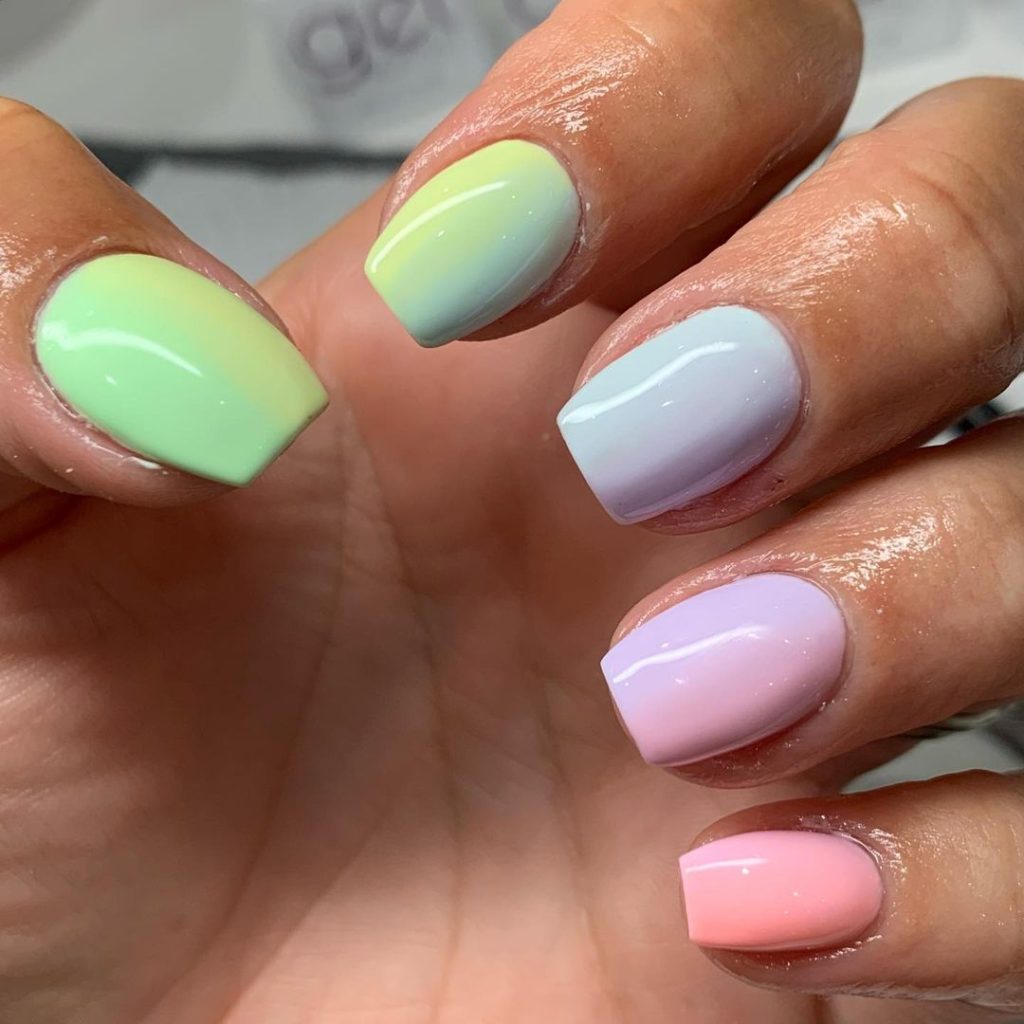
For spring, we love pastel colors and floral designs. Gel nails in shades of pale pink and blue look lovely and are perfect for Easter Sunday. And for those who want something a little bit brighter, gel nails in yellow or green are sure to stand out. As for floral designs, gel nails with delicate roses or daisies are always a favorite.
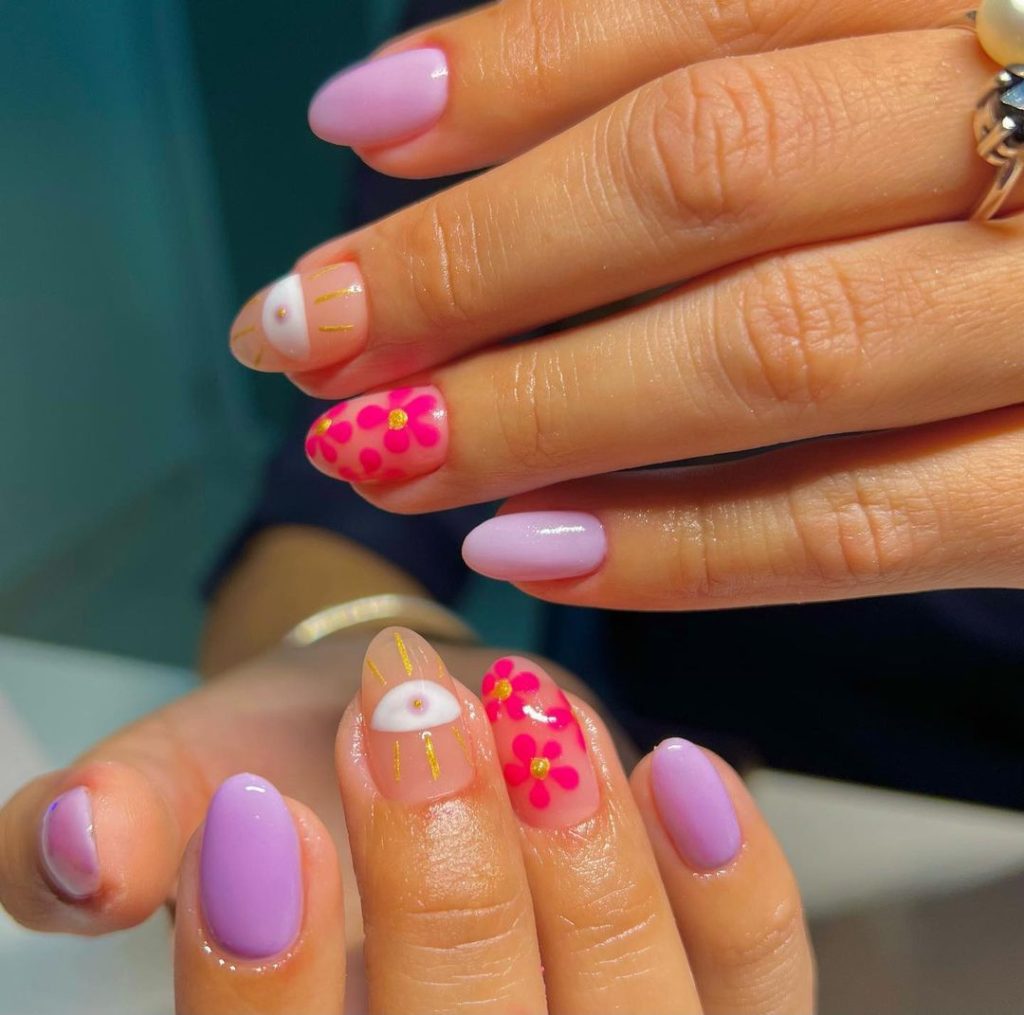
Summer Gel Nail Designs
When summer rolls around, we like to keep our gel nails bright and colorful. Neon colors are perfect for pool parties and picnics, while classic red always looks chic. For a fun beach-themed gel nail design, try adding some sea shells or starfish accents. Or if you’re headed on vacation, opt for a tropical print or palm tree design.
Gel Nails for Fall Season
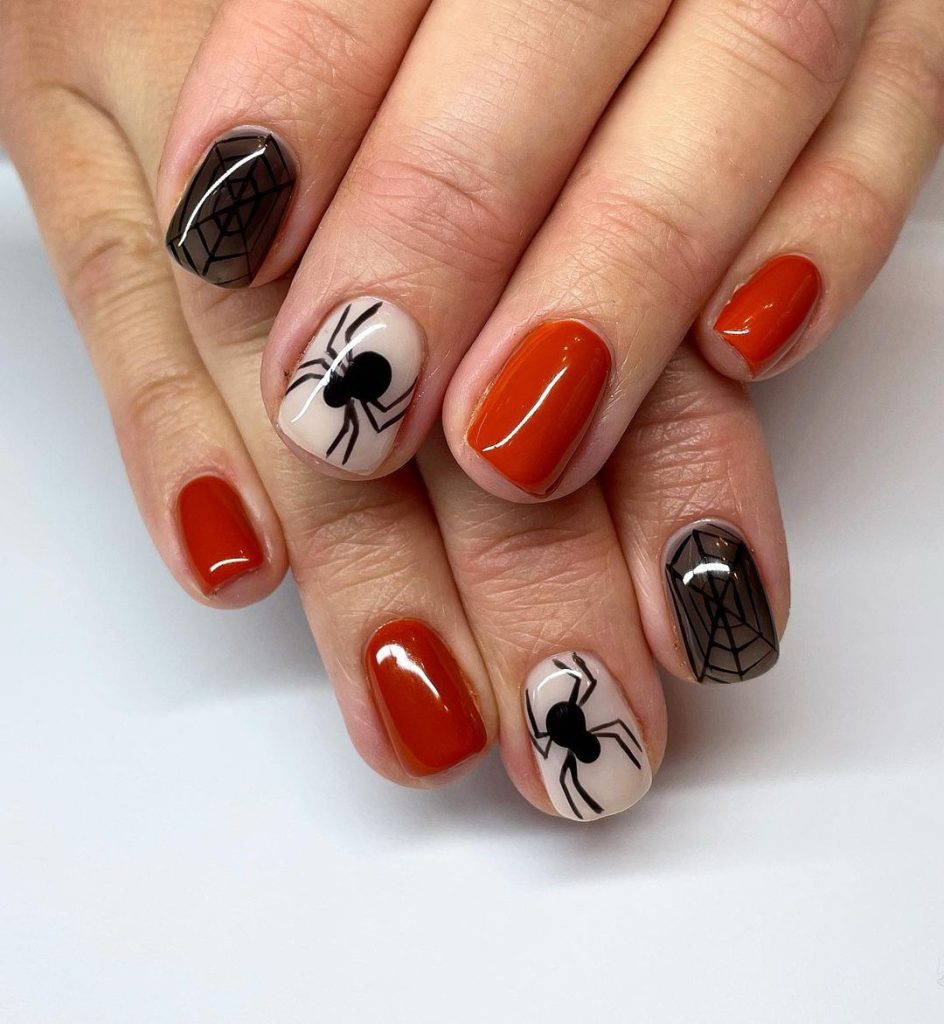
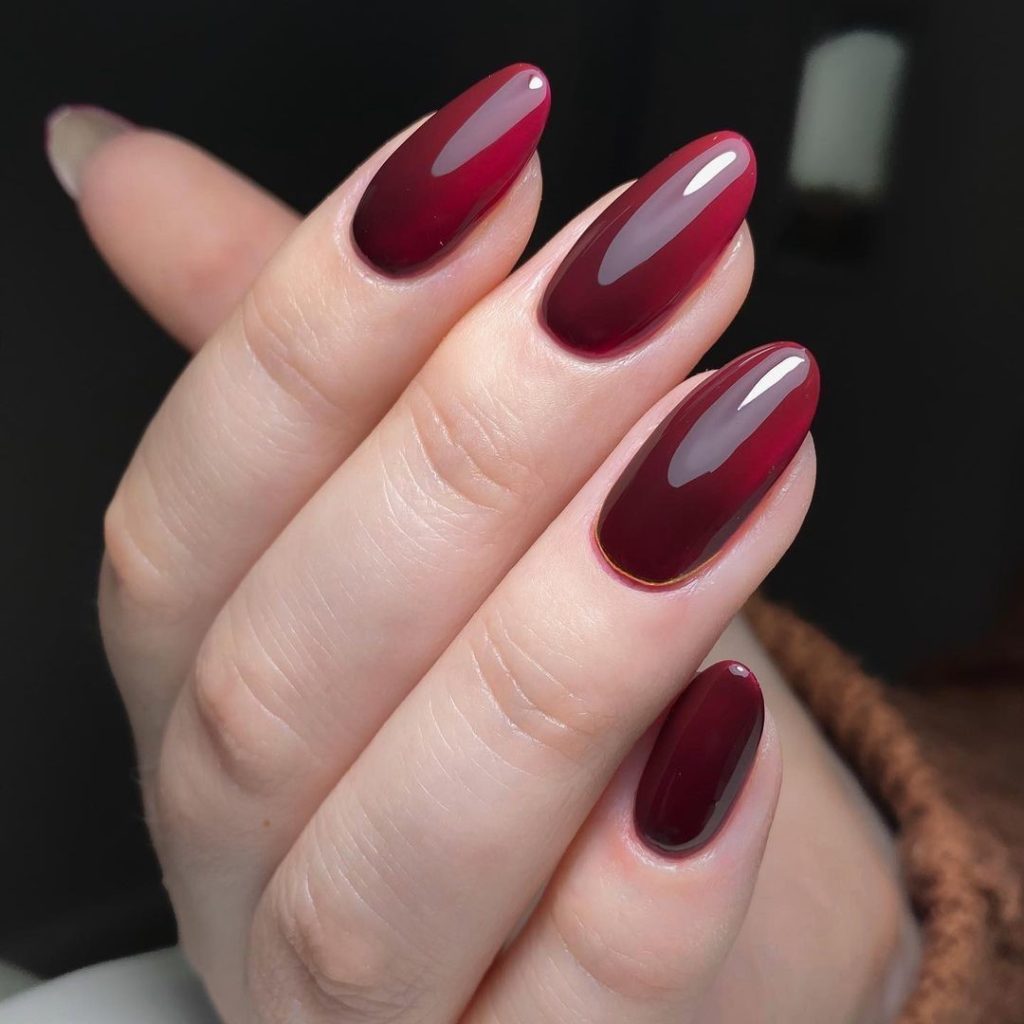
Fall is all about rich, jewel tones and classic Halloween designs. We love gel nails in deep plum or burgundy, which look great with warm-toned outfits. And for Halloween, nothing beats a spooky black cat or jack-o’-lantern design. If you’re looking for something a little more subtle, try adding some glitter or stars to your gel nails for a touch of shimmer.
Winter Gel Nails doesn’t need to be boring
Finally, winter is the perfect time to go festive with your gel nails. Red and green always look great this time of year, but don’t be afraid to experiment with other colors as well. Silver and gold look elegant, while holographic glitter adds a touch of fun. And no winter gel nail design is complete without some holiday-themed accent nail art, like snowflakes or candy canes.
The five best gel nail designs for this season
- Tropical Floral Design
This design is perfect for summertime lovers of all things floral. To achieve this look, start with a white base coat. Next, use a thin brush to add some yellow and orange flowers. Finally, add some green leaves for contrast. This design is sure to turn heads and get you compliments all summer long! - Glossy Red Nails
Sometimes, simpler is better. Achieve this classic look by starting with two coats of red gel polish. Once that’s dry, apply a layer of clear gloss for added shine and protection. This timeless look is perfect for work, play, or any special occasion! - Glitter Manicure
This glitter manicure is perfect for you! Start by applying one or two coats of your favorite color of glitter gel polish. Once that’s dry, use a toothpick or dotting tool to apply smaller dots of glitter in a contrasting color around the nails. Finish with a clear top coat and you’re good to go! - Ombre Nails
Ombre nails are still all the rage, and there’s no better time to try them out than this season! For this design, start with a light base color. Once that’s dry, use a makeup sponge to apply a darker color around the tips of the nails in a gradient effect. Finish with a clear top coat and enjoy your beautiful new nails! - Beach-Inspired Design
Summertime always makes us think of beach vacations and days spent lounging by the pool. Bring those memories home with you by creating this beach-inspired gel nail design! Start with two coats of light blue polish on all nails except the ring fingers. On the ring fingers, apply two coats of white polish instead. Once that’s dry, use a small paintbrush or toothpick to applied shells, starfish, or other small beach-themed items around the nails in any pattern you like! Finish with a layer of clear gloss and enjoy your vacation-inspired nails all summer long.
Tropical Floral Design Gel Nail Designs
Long, slender nails adorned with delicate tropical flowers are one of the hottest trends in gel nail designs. If you’re looking for a stylish and unique way to show off your nails, this is the perfect design for you.
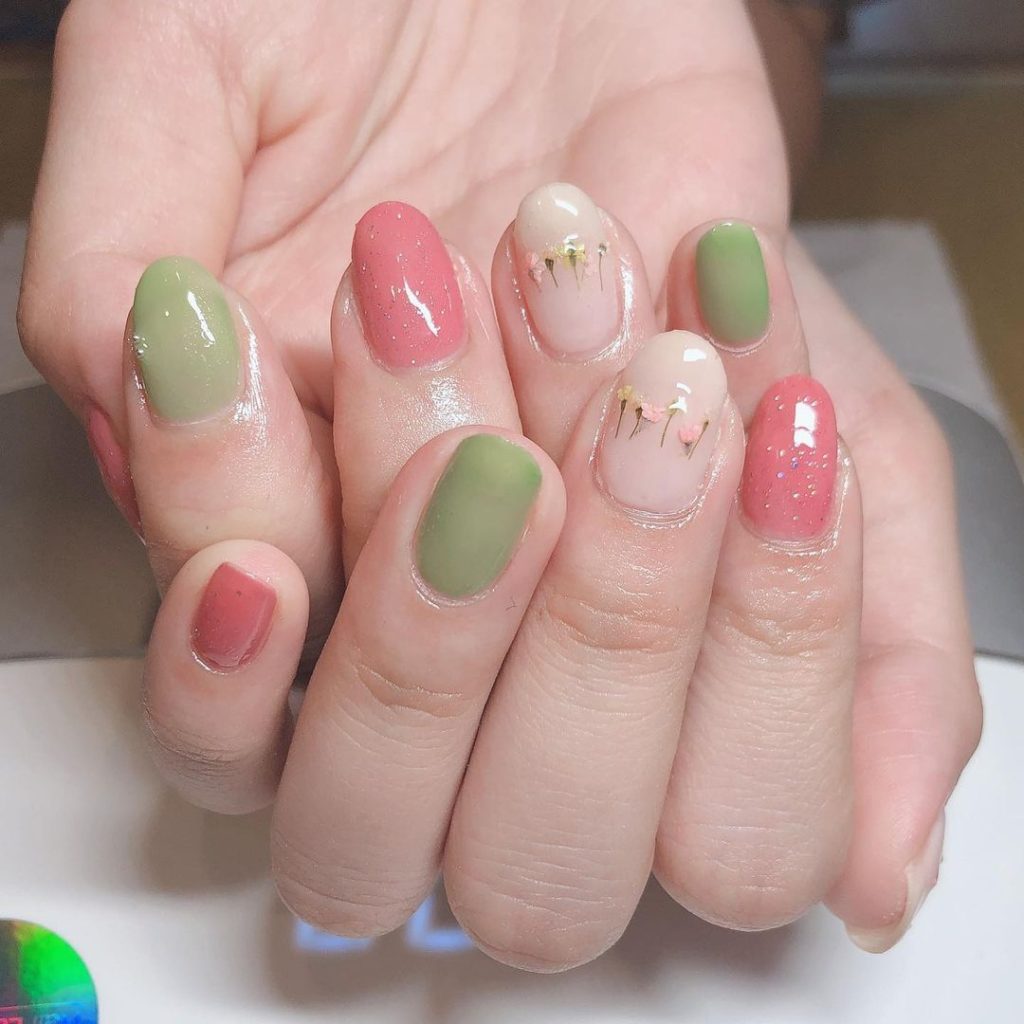
Floral Gel Nail Design Procedure
- Choose Your Flowers
The first step in creating your tropical floral gel nail design is to choose the flowers you want to use. There are many different types of flowers that can be used for this type of design, so take some time to look at different options and decide which ones you like the best. Once you’ve chosen your flowers, it’s time to move on to the next step. - Prep Your Nails
Before you start applying any gel polish, it’s important to prep your nails first. This will help ensure that your nails are free of any dirt or debris that could potentially interfere with the gel polish adhering properly to your nails. To prep your nails, simply wash them with soap and water and then buff them lightly with a nail file. - Apply Your Base Coat
Once your nails are prepped and ready to go, it’s time to apply your base coat. Be sure to use a base coat that is specifically designed for use with gel polish. This will help ensure that your gel polish lasts as long as possible without chipping or peeling. Apply a thin layer of base coat to each nail and then cure it under a UV or LED light for the recommended amount of time. - Apply Your Gel Polish
Now it’s time to apply the gel polish itself. Start by applying a thin layer of gel polish to each nail, being sure to avoid getting any on your skin or cuticles. Cure the polish under a UV or LED light for the recommended amount of time before moving on to the next step. Repeat this process until you have achieved the desired opacity. - Create Your Flower Design
Once your nails are fully polished, it’s time to start creating your flower design. Begin by placing a small dot of gel polish in the center of each nail. Then, use a dotting tool or other sharp object to create petals around the dot of polish, working from the outside in until you have created a complete flower design on each nail. Cure the flowers under a UV or LED light for the recommended amount of time before moving on to the next step. - Apply Your Top Coat
The final step in creating your tropical floral gel nail design is to apply a top coat. This will help protect your design and keep it looking shiny and new for weeks on end. Simply apply a thin layer of top coat over your entire design and cure it under a UV or LED light for the recommended amount of time.
Tropical floral gel nail designs are one of the hottest trends in nails right now. If you’re looking for something unique and stylish, this is the perfect option for you! Follow these simple steps to achieve salon-quality results at home!
6 Gorgeous Glossy Red Gel Nail Designs
Glossy red nails are always in style. They are the perfect way to add a touch of glamour to any outfit. Whether you are going out on a date or to a formal event, red nails will make you feel confident and beautiful.
There are endless possibilities when it comes to red nails. You can keep it simple with a classic red polish, or you can get creative with different designs. If you are looking for some inspiration, check out these six gorgeous glossy red gel nail designs.
Glossy Red Gel Nails
- Simple and Elegant
A simple and elegant design is perfect for any occasion. To create this look, start with two coats of your favorite red polish. Once the polish is dry, apply a clear top coat for extra shine. - Glitter Accent Nails
For something a little more fun, try adding glitter accent nails to your look. Start with a red base coat and then apply glitter polish to your accent nails. You can use one color of glitter or mix different colors together for a bolder look. Finish with a clear top coat to seal in the design. - Ombre Nails
Ombre nails are another great option if you want something more than just a solid color. To create this look, start with a light pink or nude base coat. Apply two coats of red polish to the tips of your nails and then blend the colors together with a makeup sponge. Finish with a clear top coat for extra shine and protection. - Striped Nails
Striped nails are a classic design that looks good on everyone. To create this look, start with two coats of red polish. Once the polish is dry, use strips of tape to create evenly spaced stripes across your nails. Paint over the stripes with white polish and then remove the tape while the polish is still wet . Finish with a clear top coat . - Polka Dot Nails
Polka dot nails are playful and fun. To create this look, start with two coats of red polish. Once the polish is dry, use a toothpick or dotting tool to make small dots all over your nails. Finish with a clear top coat. - Matte Nails
If you want something unique, try matte nails. To create this look, start with two coats of red polish. Once the polish is dry, apply a matte top coat. This will give your nails a velvety finish that is chic and stylish .
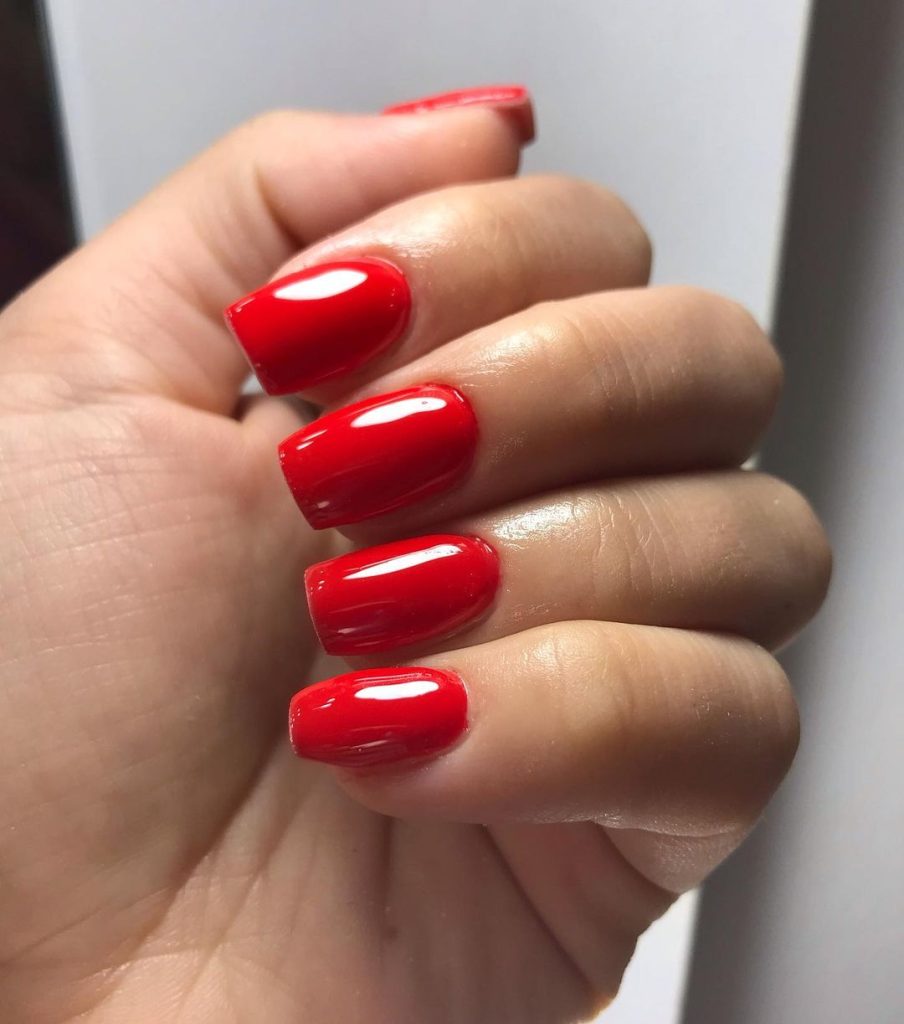
Red nails are always in style, and there are endless ways to wear them. If you need some inspiration, try one of these six gorgeous glossy red gel nail designs. From simple and elegant to bold and festive, there is sure to be a design that you will love!
Glitter Manicure Gel Nail Designs
It’s that time of year again where we start thinking about New Year’s Eve party plans! And what better way to get into the festive spirit than with a glittery manicure? Here are some of our favorite glitter gel nail designs to help inspire your own holiday look.
Glitter Manicure Design Choices
- Silver Glitter French Manicure
For a classic take on the glitter manicure, opt for a silver glitter french. This look is perfect for any holiday event, from office parties to more formal gatherings. To achieve this look, simply apply a thin line of silver glitter along the tips of your nails before curing under a UV or LED light. - Holo Glitter Accent Nails
Holographic glitters are all the rage right now, so it’s no surprise that they’re showing up in manicures as well. For a holographic accent nail, start by applying a base coat of your favorite gel polish color. Once that has cured, apply a layer of holo glitter over top and cure again. Finish with a top coat and voila! You’ve got yourself a party-ready manicure. - Christmas Tree Nails
Get into the Christmas spirit with these fun and festive Christmas tree nails! To create this look, start by painting your nails with a green gel polish. Once that has cured, use a toothpick or dotting tool to apply small dots of gold glitter polish around the edge of the nail to create a “tree” effect. Finish with a top coat and you’re good to go!
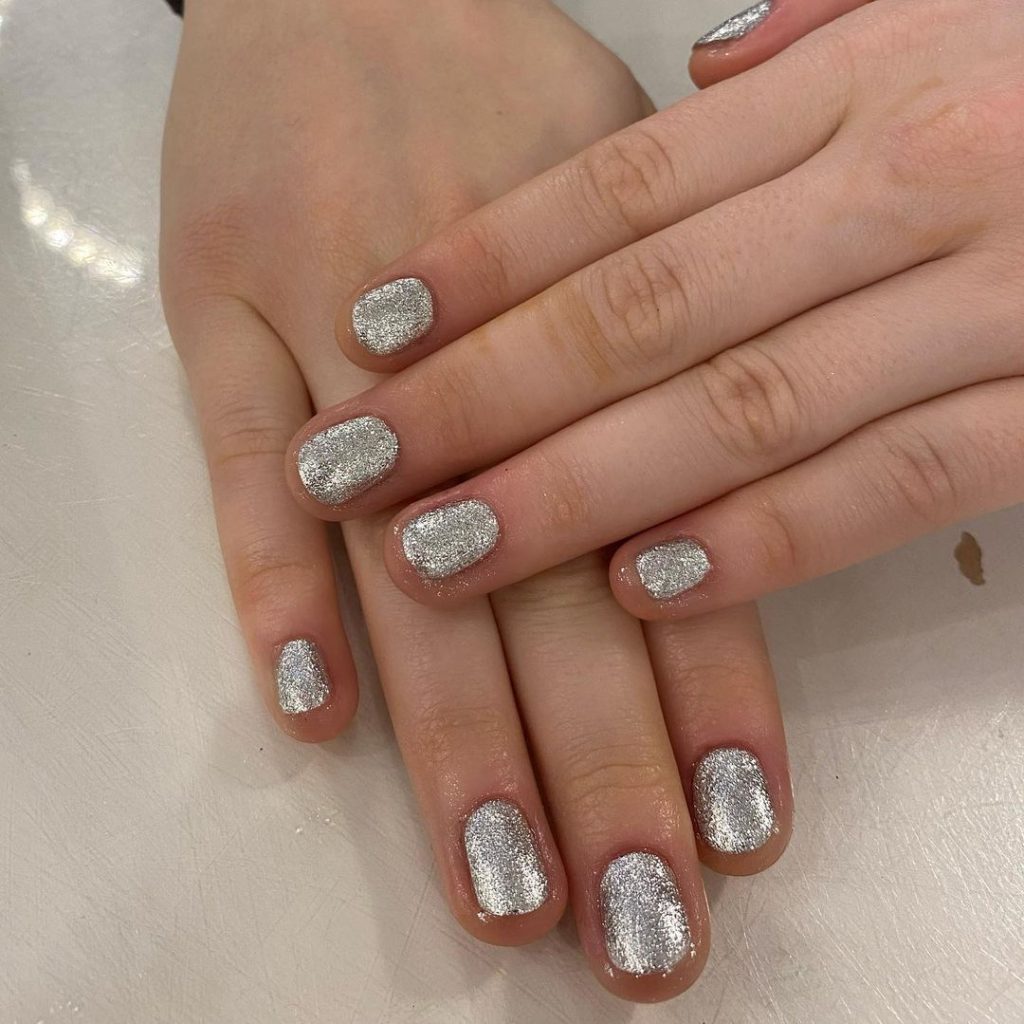
No matter what your holiday plans entail, we hope these glitter gel nail designs have inspired you to try something new this season! Be sure to book an appointment at your local salon to get your nails done by a professional so you can avoid any holiday party disasters.
The Different Types of Ombre Nails
In case you haven’t noticed, ombre nails are having a moment. This popular nail trend has taken over Instagram and Pinterest, and it’s easy to see why. Ombre nails are incredibly versatile and can be customized to suit any taste. Plus, they look absolutely beautiful!
If you’re thinking about getting ombre nails, gel is the way to go. Gel nails are strong and durable, meaning they’ll last longer than regular manicures. Plus, gel ombre nails have a high-gloss finish that is simply stunning. Keep reading to learn about the different types of gel ombre nails and find the perfect design for you!
Ombre Gel Nails
- Reverse Ombre Nails
Reverse ombre nails are the perfect way to inject a little bit of personality into your manicure. As the name suggests, reverse ombre nails are the opposite of traditional ombre nails. Instead of getting progressively lighter towards the tips of your nails, reverse ombre starts light at the base and gets progressively darker towards the tips.
One of the great things about reverse ombre nails is that they can be customized to suit any taste. For example, if you want a more understated look, you can choose subdued colors like nude or pale pink. On the other hand, if you’re looking for something a little more dramatic, brighter colors like hot pink or electric blue will definitely do the trick!
- Gradient Ombre Nails
Gradient ombre nails are similar to traditional ombre nails in that they feature a gradation of color. However, unlike traditional ombre where the color is usually just two shades, gradient ombres often feature three or even four shades of color. This gives gradient ombres a much moreInteresting look that is sure to turn heads!
If you’re considering getting gradient ombre nails, it’s important to choose colors that complement each other well. For example, light purple and dark blue make for a stunning gradient ombré!
Before deciding on your colors, we recommend doing a little bit of research online for some inspiration. Once you’ve found a design you love, simply bring it to your nail technician and they’ll be able to recreate it for you!
- Glitter Ombre Nails
Glitter ombré nails are the perfect way to add a touch of glamour to your look. If you’re heading out for a night on the town or attending a formal event, glitter ombré is definitely the way to go!
To get this look, your nail technician will start by adding a layer of clear gel polish to your nails. Next, they will apply a layer of glitter ombré powder using an applicator brush. Once all of your nails have been covered in glitter ombré powder, they will seal it with another layer of clear gel polish.
And that’s it! You’ll have gorgeous glitter ombré nails that will last for weeks!
Ombré gel nails are one of the hottest trends right now and gel is the best way to get them done! Gel manicures are strong and durable, meaning your beautiful ombré design will last for weeks with no chipping or fading. Keep reading to learn about all of the different types of gel ombré designs so that you can find the perfect one for you!
Beach-Inspired Design Gel Nail Designs
The beach is the perfect place to relax and unwind. But why should your nails have to suffer when you can have the best of both worlds? With these beach-inspired design gel nail designs, you can have your nails done in style without compromising on the quality.
Seashells Gel Nail Design
The summer is a great time to show off your beach gel nails! A great design for the summer season is seashells. This design is not only unique, but it also shows off your gel nails in a fun and flirty way. Keep reading to find out how to recreate this look at home!
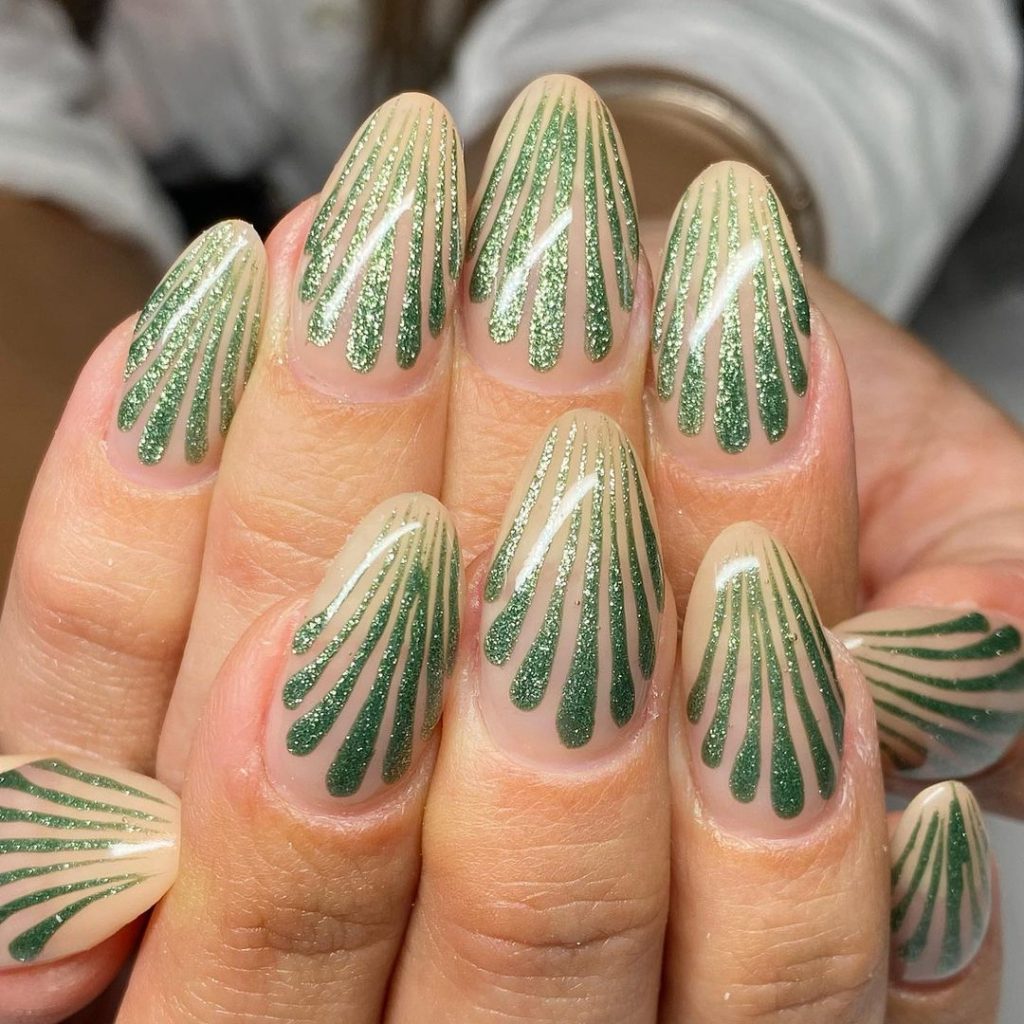
What You’ll Need:
- clear base coat gel
- light pink gel polish
- white gel polish
- small paint brush
- top coat gel
Gel Nails Conclusion
Regardless of the season, there is always time to break out fun new gel nail designs! Whether you prefer something simple and classic or something more creative and unique, there’s sure to be a design here that’s perfect for you. So grab your favorite colors of gel polish and get started on your next seasonal manicure today!

