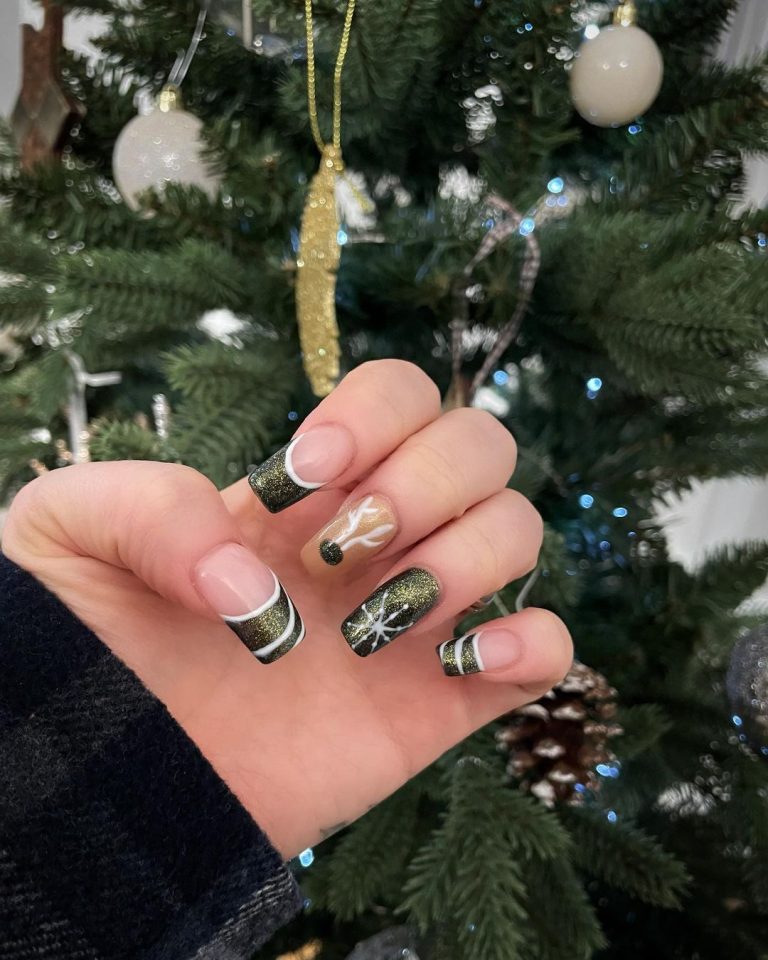
The holidays are a time to get festive and have fun with your nails. Gone are the days of having to choose between red or green; now, there are dozens of colors and combinations to choose from. If you’re looking for some inspiration for your Winter Christmas nails, look no further! Here are a few of our favorite holiday nail colors.
Make a Statement with Your Winter Christmas Nails
Go Bright or Go Home
When it comes to Christmas nails, sometimes it’s best to go bold. After all, it is the most wonderful time of the year! This year, we’re loving electric blues, purples, and pinks. Pairing two or three of these colors together is sure to give you a festive and chic manicure that will turn heads.
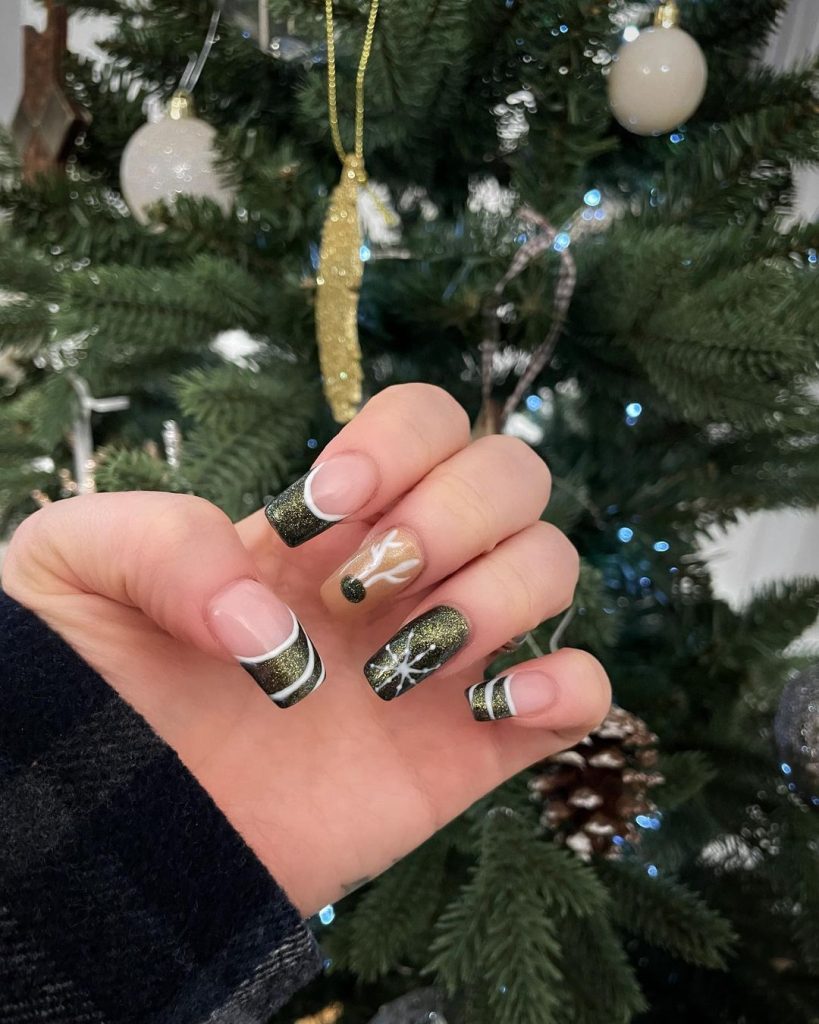
Christmas beauties – Prep @tweezerman Colour @glossifyofficial Goddess
Not So Basic Red
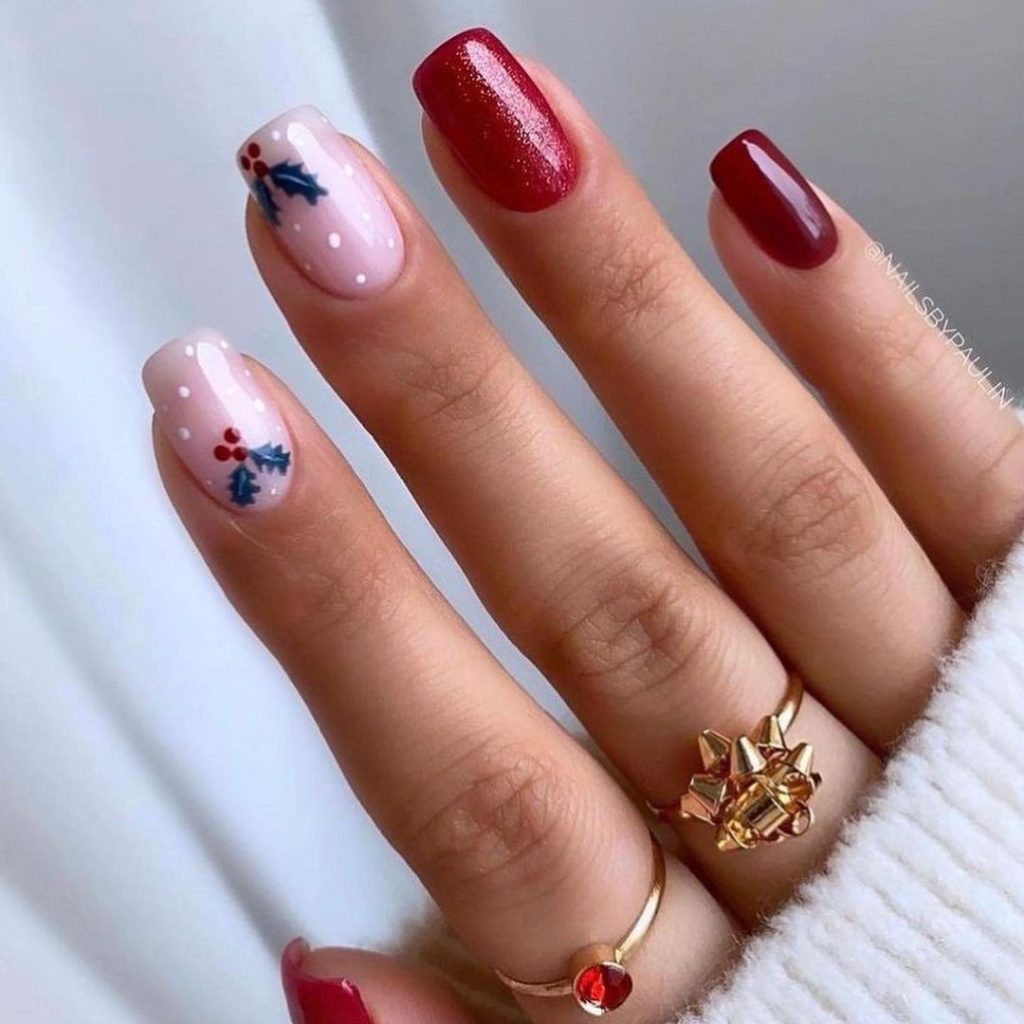
Of course, we couldn’t write a blog about Christmas nails without mentioning red. It’s a classic holiday color for a reason! This year, we’re seeing a lot of unique takes on the classic red manicure. Glittery accents, mixed metals, and negative space designs are just a few of the ways you can take your red manicure to the next level.
No matter what your personal style is, there’s a Christmas nail color out there for you. So ditch the plain old red and green this year and try something new! Your nails will thank you.
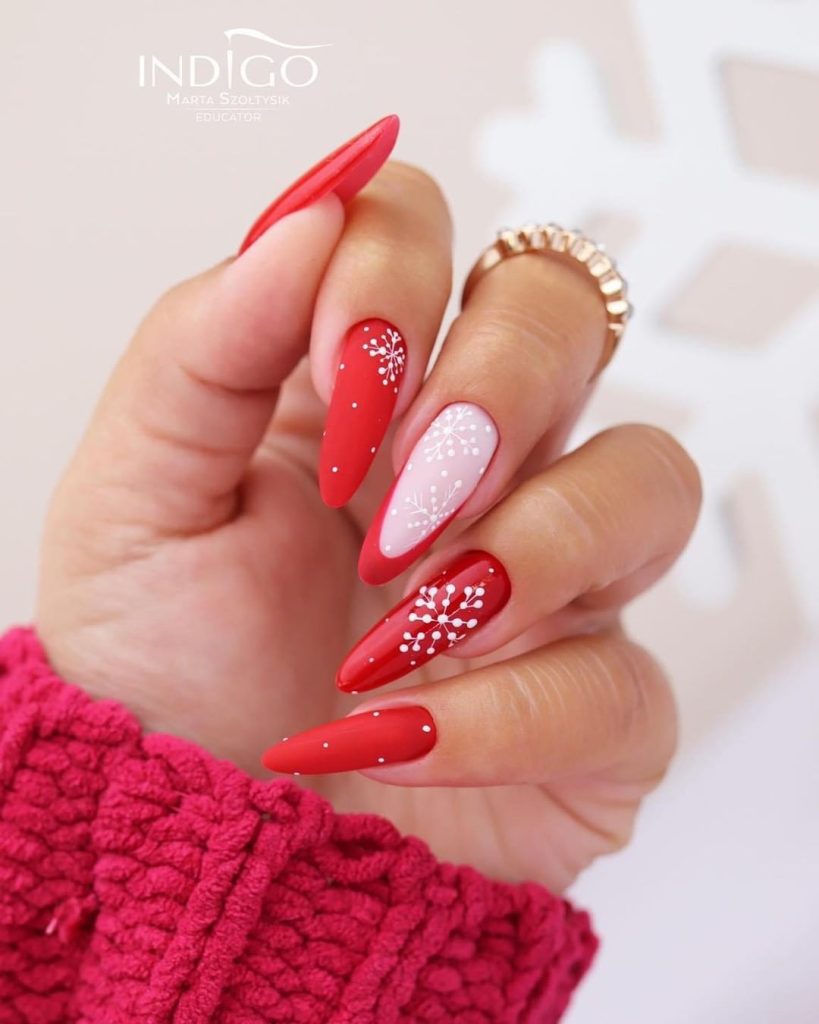
indigodistributor_sara Red winter nails by @marcipazur Gel Polish Hrabina ❤️ Whitemin Base ✨❤️ @indigonails
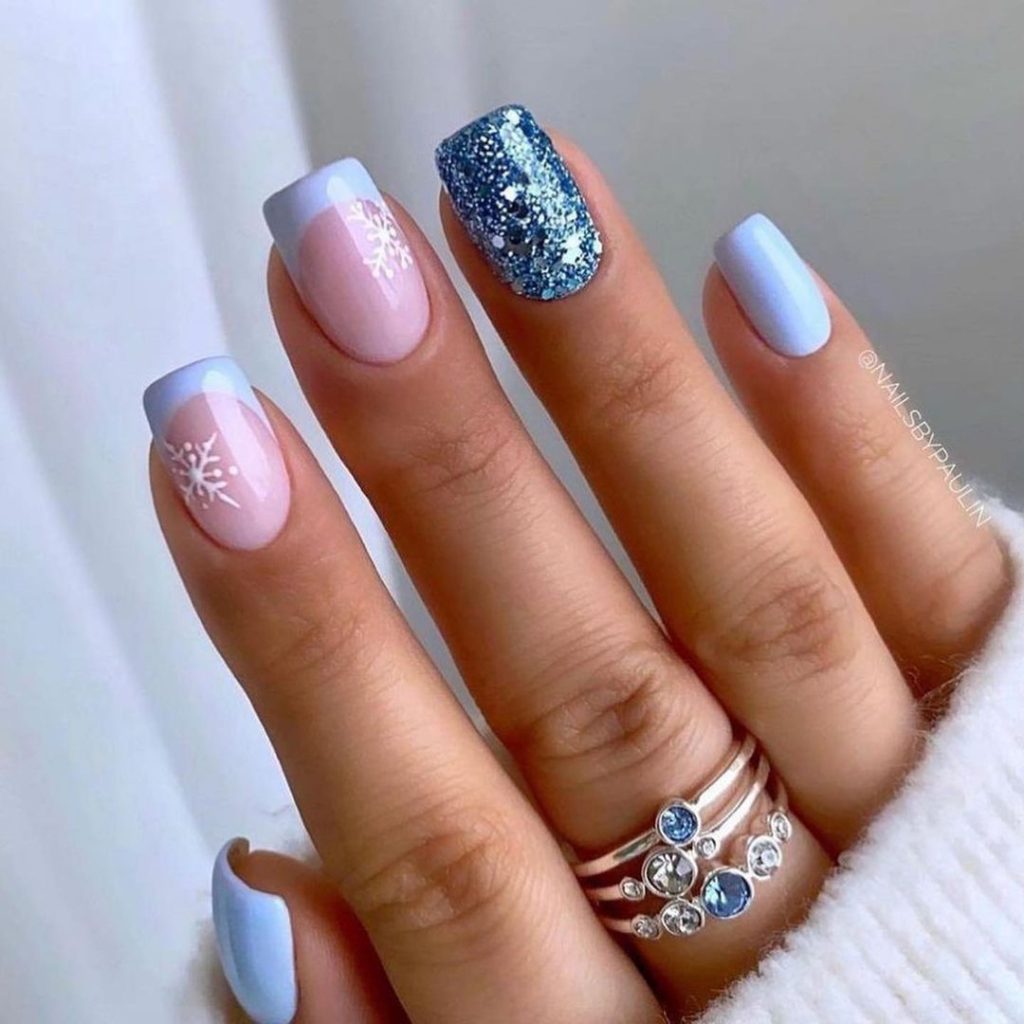
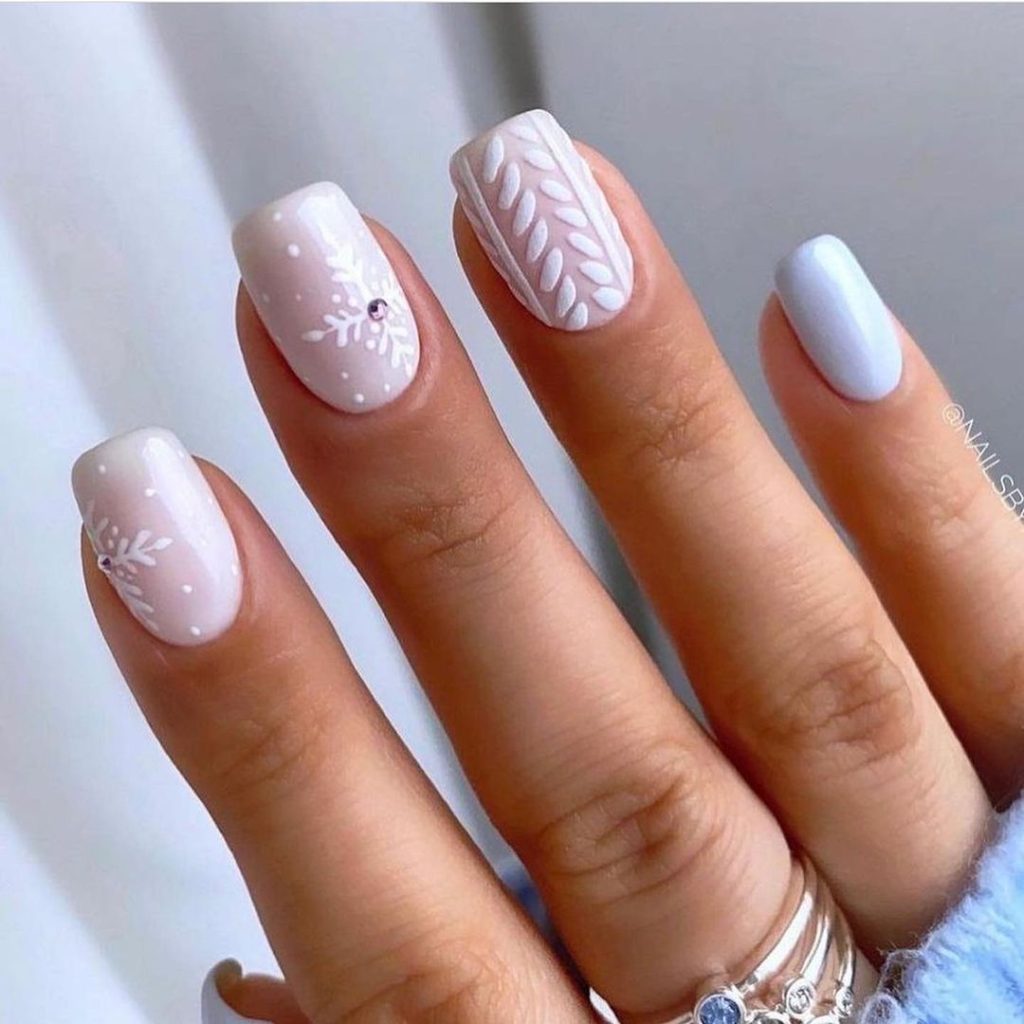
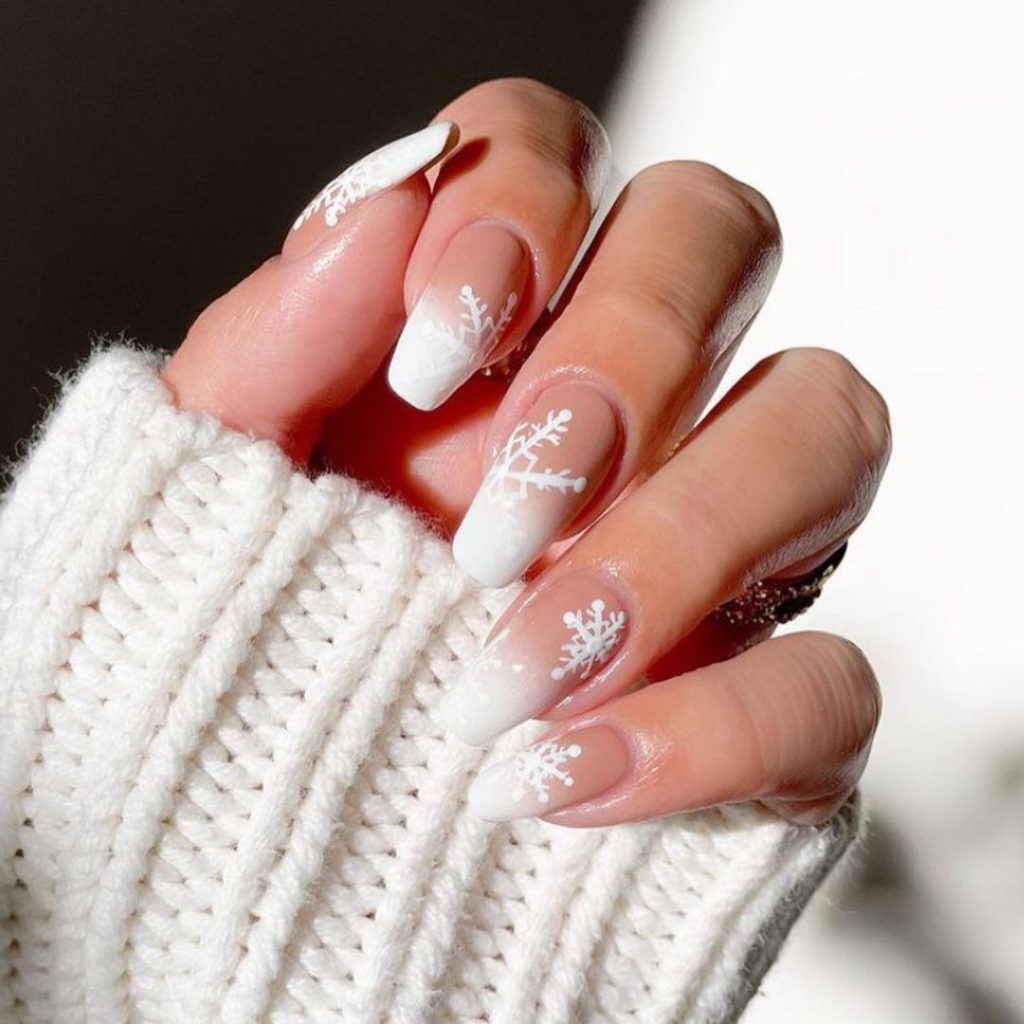
Winter Snowflake Manicure Designs
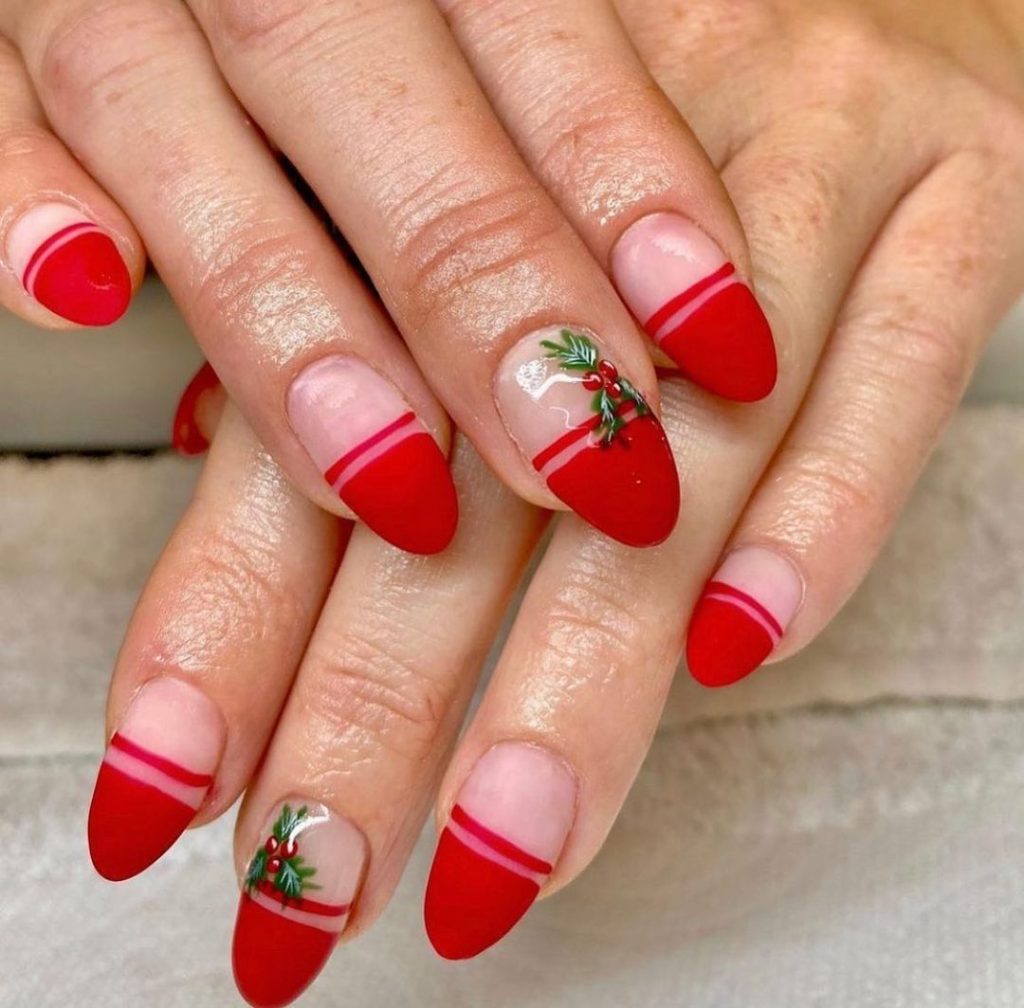
This holiday season, why not add a little extra festive cheer to your nails with a snowflake manicure! In this tutorial, I’ll show you how to create a simple but beautiful snowflake design that you can rock all winter long.
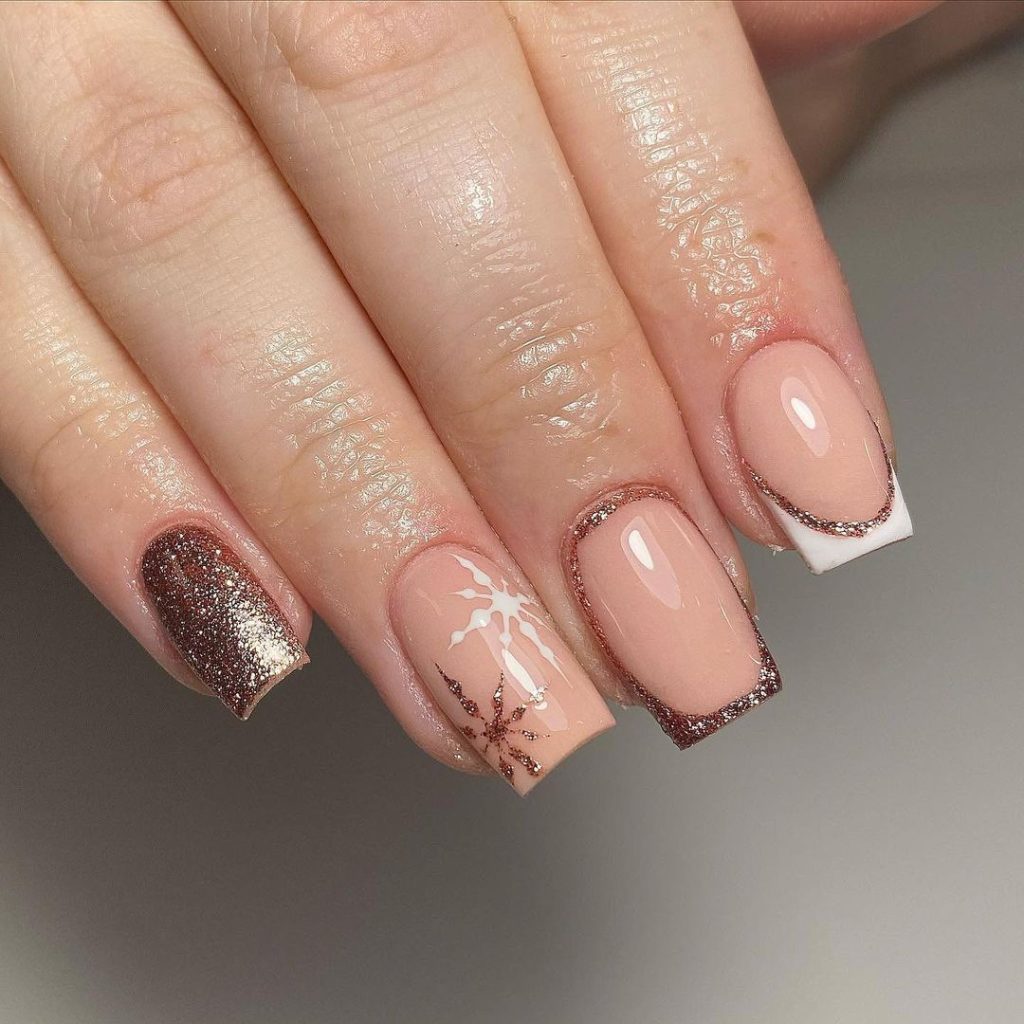
Snowflake Manicure Requirements
- Base coat
- Nail polish in desired color
- Top coat
- Stamping plate with snowflake design
- Stamper
- Scraper
- Tweezers
Winter Snowflake Nail Steps
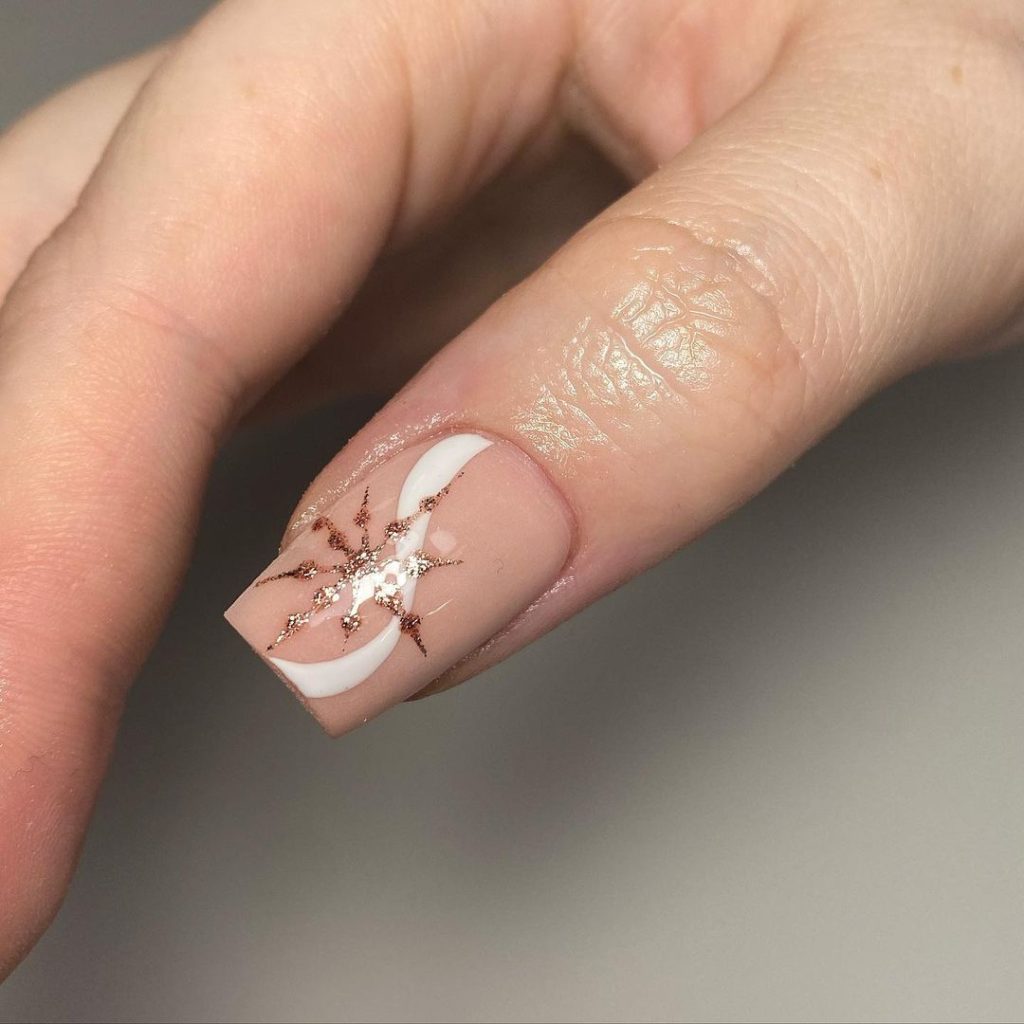
- Apply base coat to clean, dry nails and allow to dry completely. This will help your manicure last longer and prevent staining of the nails.
- Apply nail polish color of choice. I used white so that the snowflakes would really stand out, but feel free to use any color you like! Allow to dry completely.
- Apply top coat to all nails and allow to dry for a few minutes so that it is slightly tacky.
- Using the scraper, scrape off excess polish from the stamping plate. Be sure to hold the scraper at a 45 degree angle for best results.
- Pick up the image with the stamper, making sure to roll the stamper over the entire design.
- Carefully transfer the image onto your nail. I like to start in the center of the nail and then roll the stamper outwards towards the edges. If part of the design is missing, just repeat steps 4-6 until you are satisfied with the results.
- Use tweezers to place rhinestones on nails as desired. I like to put them around the edge of each snowflake, but feel free to get creative! Allow everything to dry completely before proceeding to step 8.
- Seal everything with a layer of top coat and voila!
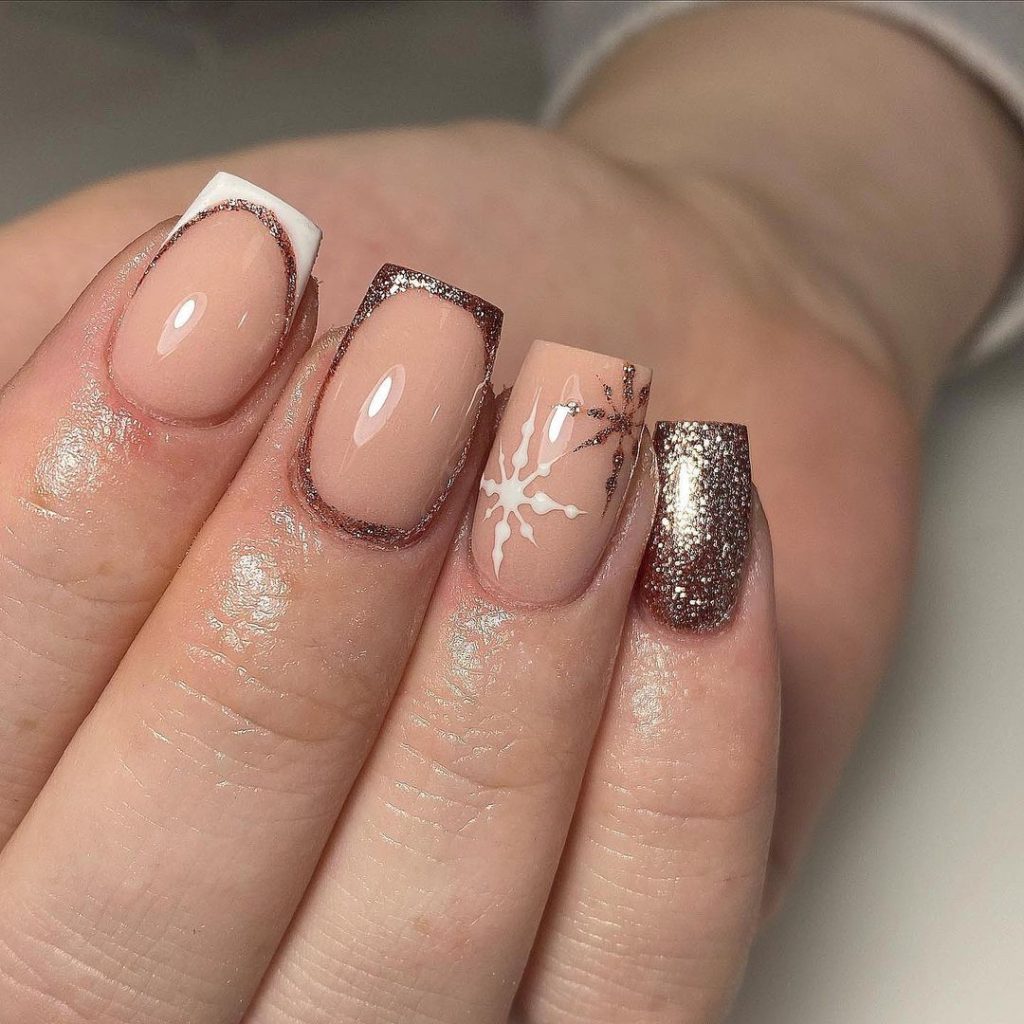
Festive Nails for December
December is the perfect time to rock some festive nails! Whether you go for a classic red and green design or something more unique, there are endless possibilities when it comes to December holiday season nails. If you’re looking for some inspiration, check out these winter nail designs. This year, why not try a sparkling snowflake design or a festive Santa Claus? For something a little more subtle, try a chic dark green or deep red. Whatever you choose, make sure your nails are ready for all the holiday cheer!
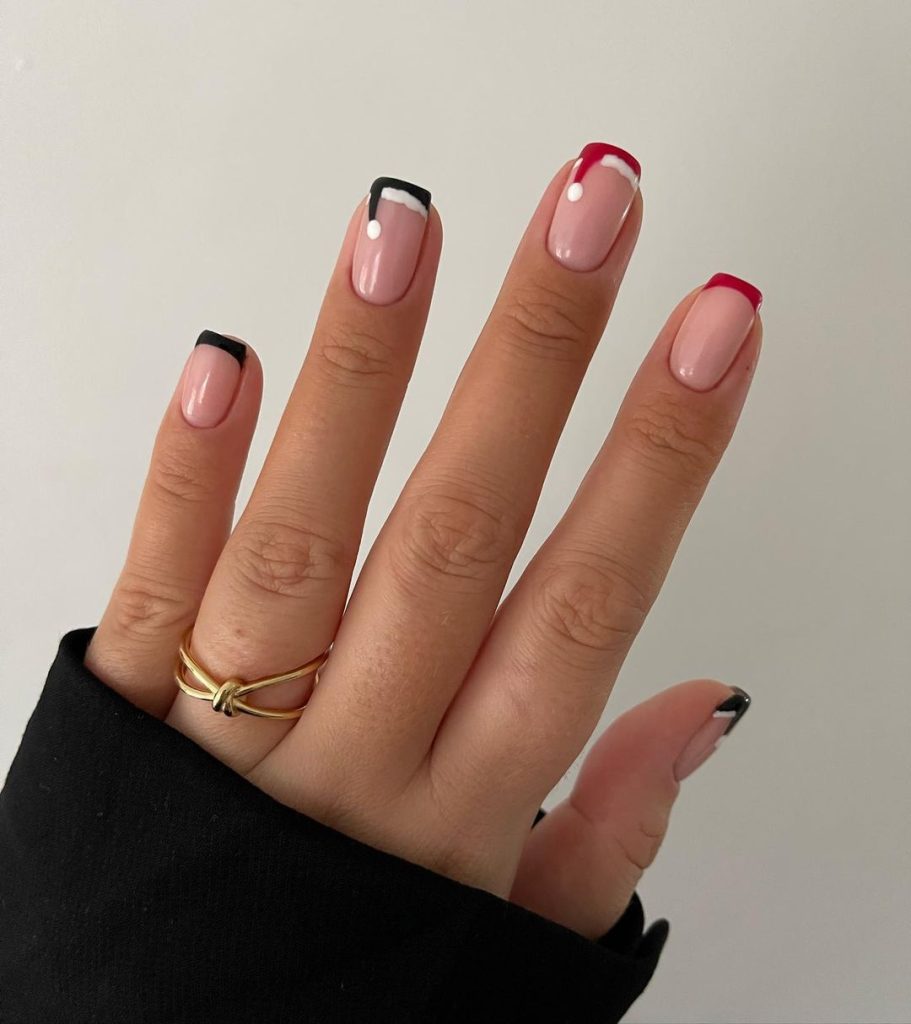
beautyspace_charlotte The Good and Bad Santa – @glossifyofficial – Naturabuild Nude, Royal Red and Glossy Top Coat @lucypastorellitools_ – Prep and Essential Palette – @aniahaie – Ring
Simple Christmas Nail Art
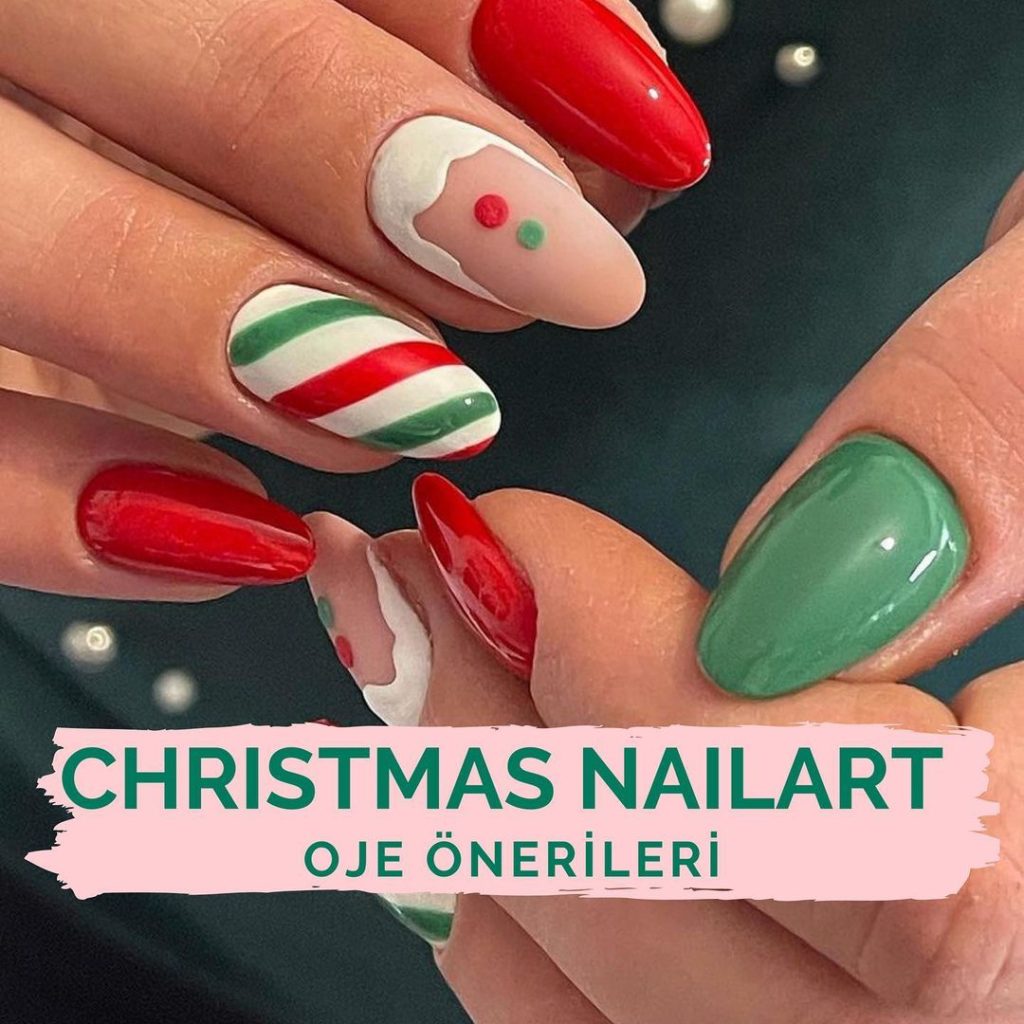
It’s that time of year again – time to get your nails done for Christmas! If you’re looking for something simple and classic, then look no further than these Simple Christmas Nail Art. They feature a red and green color scheme with a hint of sparkling glitter. But don’t let the simplicity fool you – these nails are sure to make a statement. The Classic Christmas Nails are perfect for anyone who wants to rock a festive look without going over-the-top. So go ahead and treat yourself to a little bit of holiday cheer – your nails will thank you!
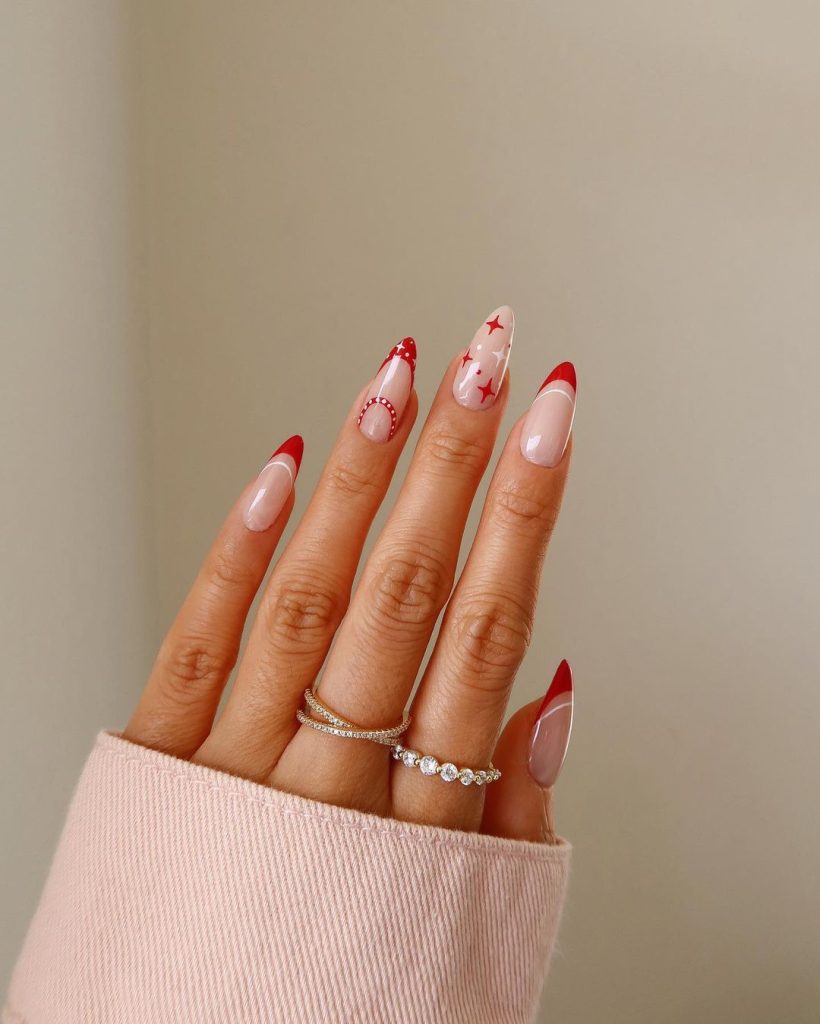
@vwnails_ Red Festive Christmas Nails
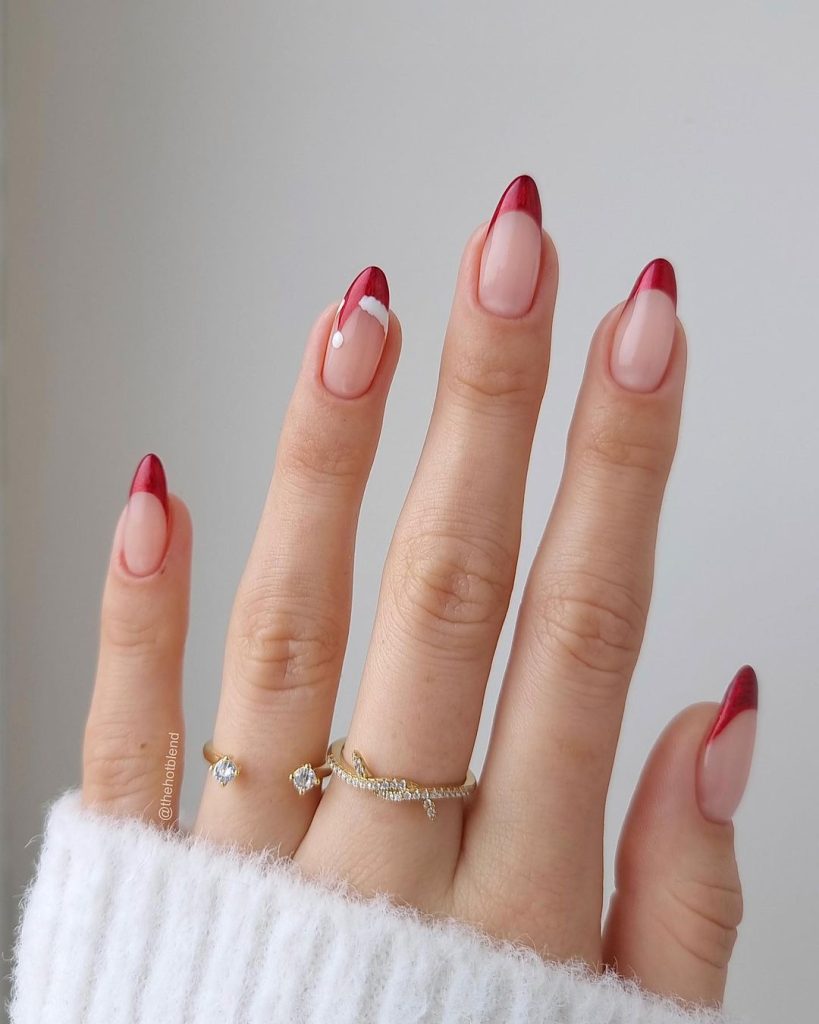
@thehotblend – Using @the_gelbottle_inc gels
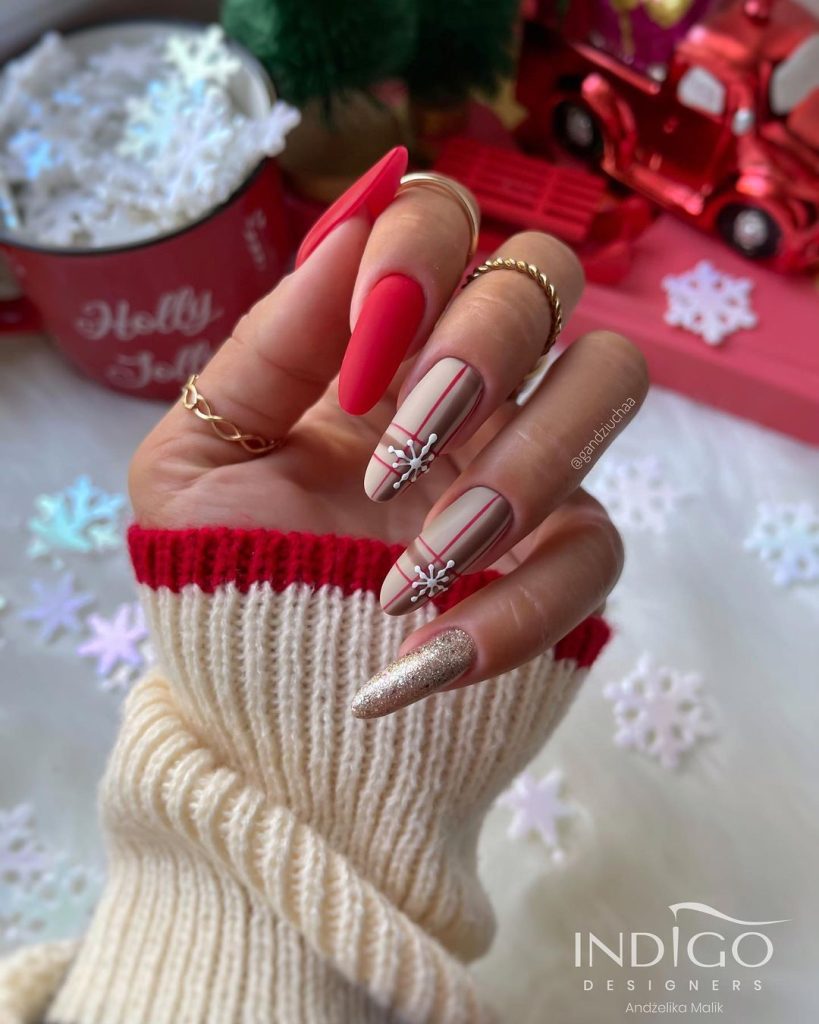
gandziuchaa – @indigonails
Gingerbread Man Christmas Nails
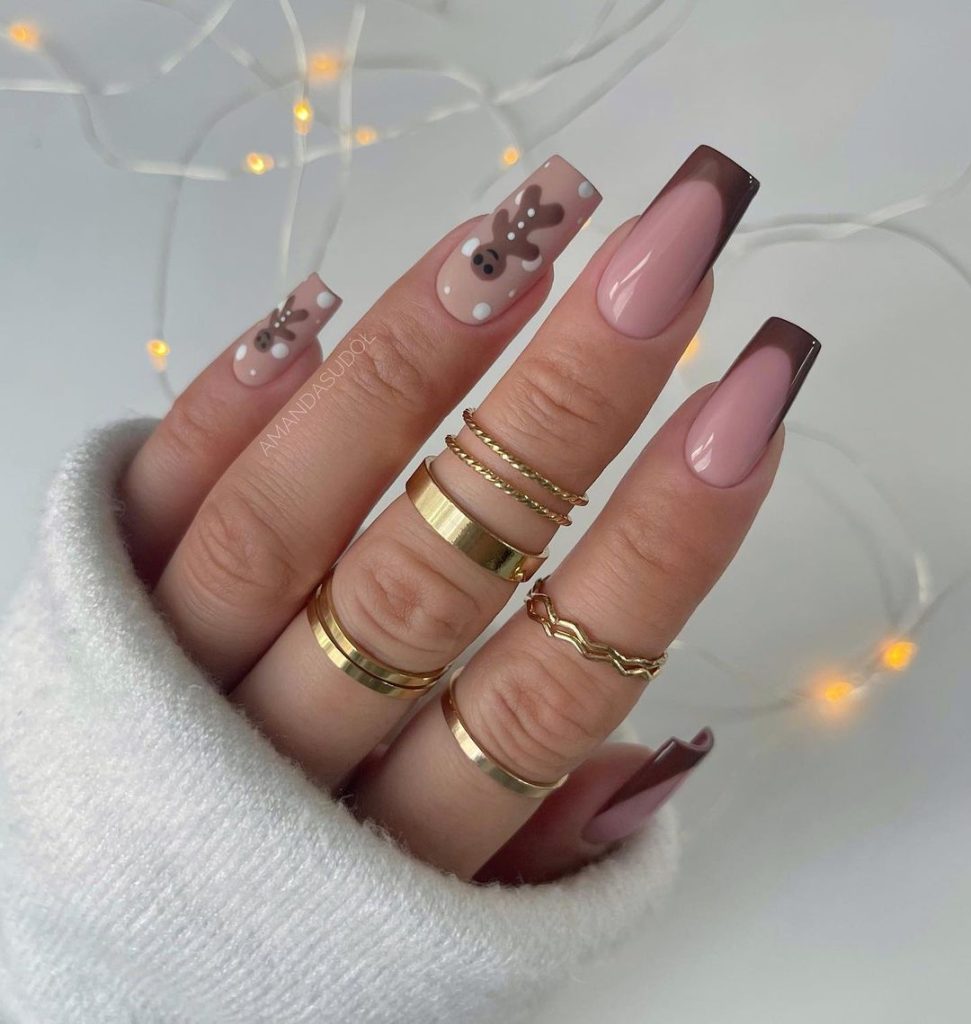
amanda.sudolll Nails Gingerbread @indigonails : toffee coffee , mon cinnamon , nude Beige , sugar effect
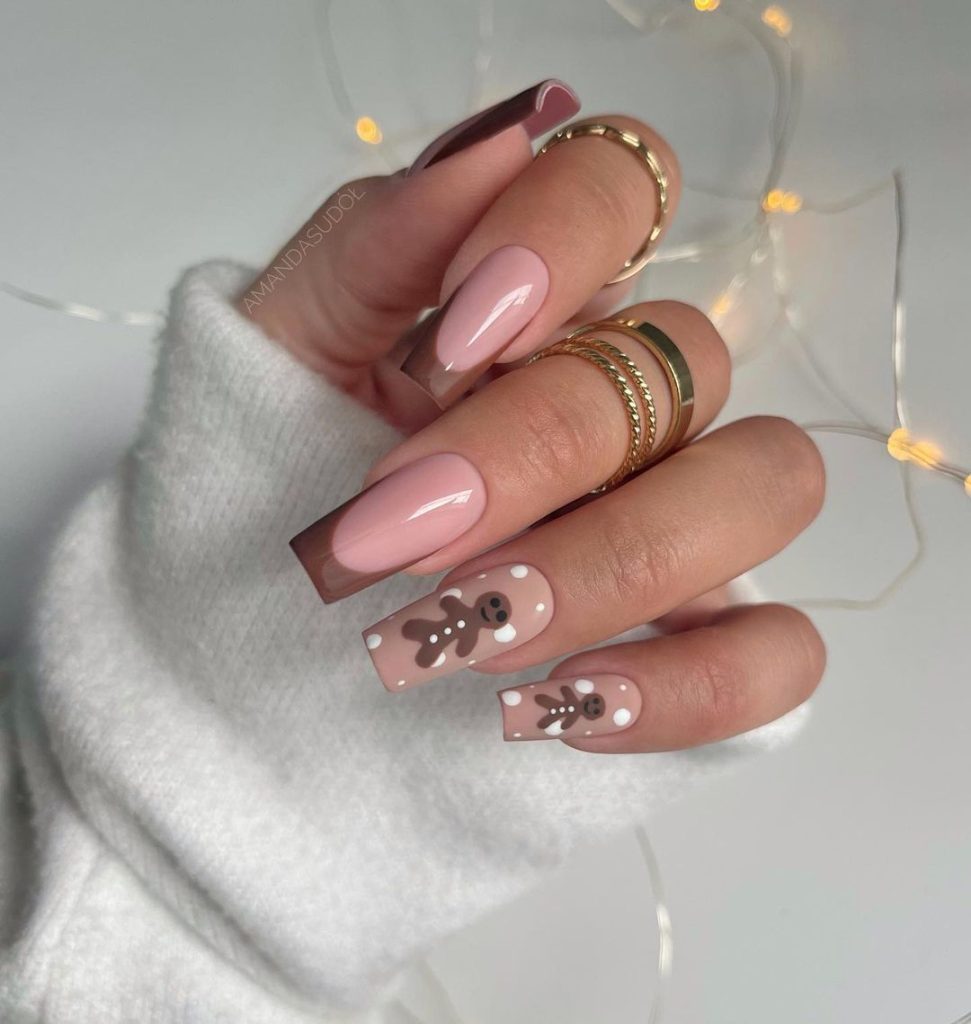
amanda.sudolll Nails Gingerbread @indigonails : toffee coffee , mon cinnamon , nude Beige , sugar effect
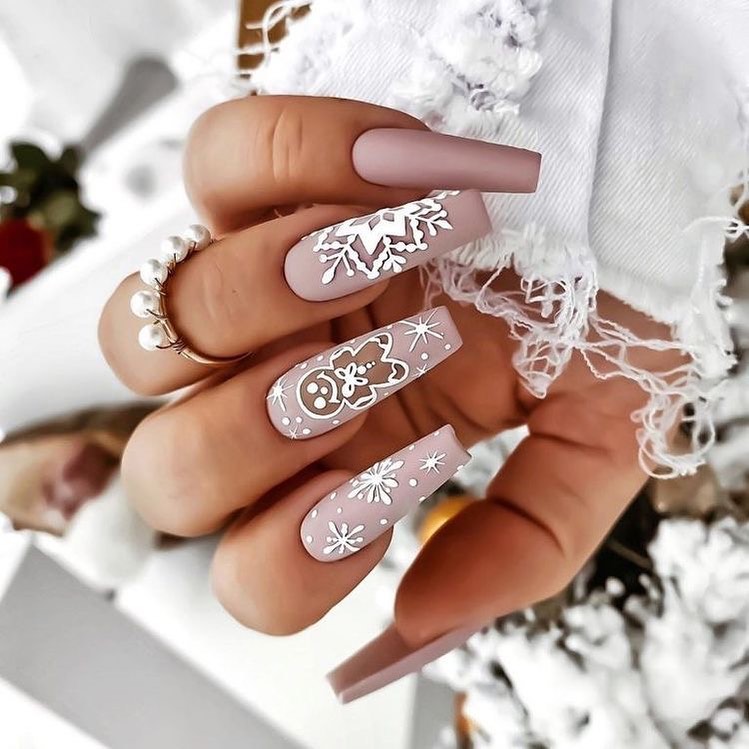
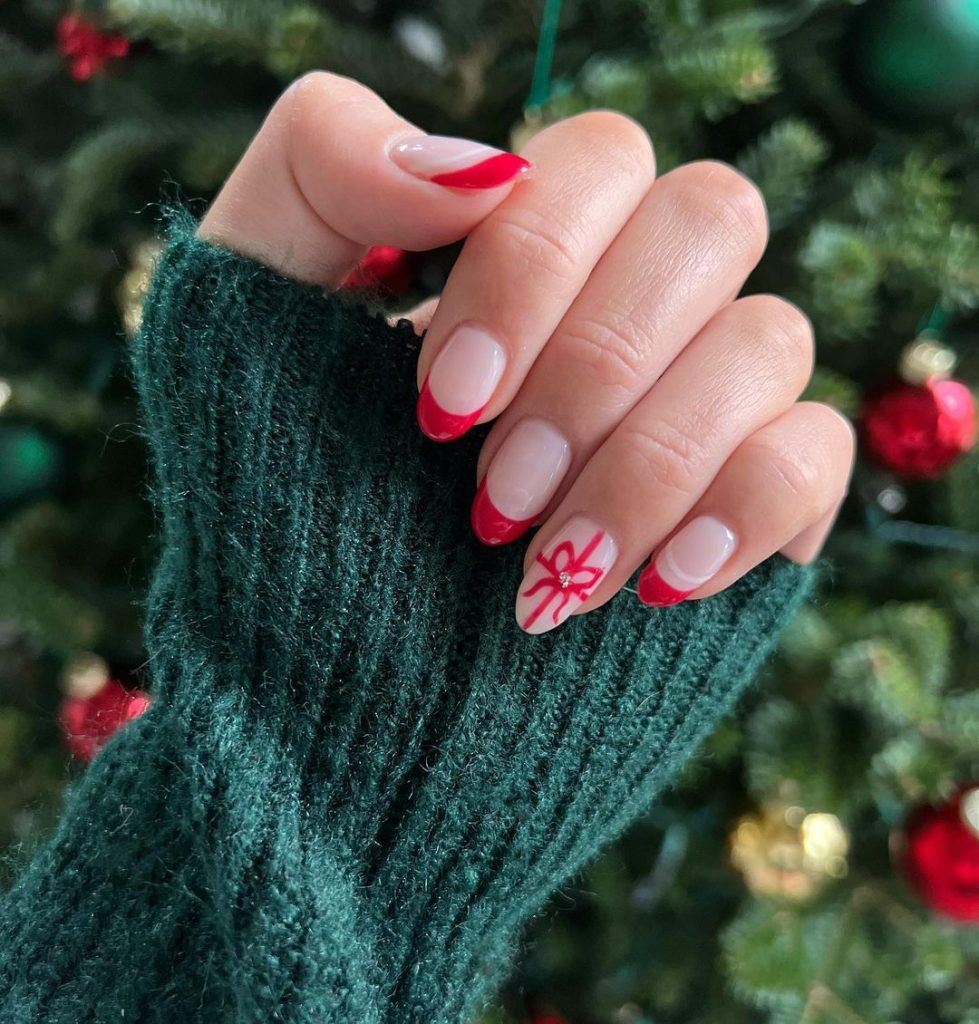
jacquiiedee A little bit of Christmas nail inspo! Save for your next nail appointment!
Glitter Reindeer Nail Art Designs
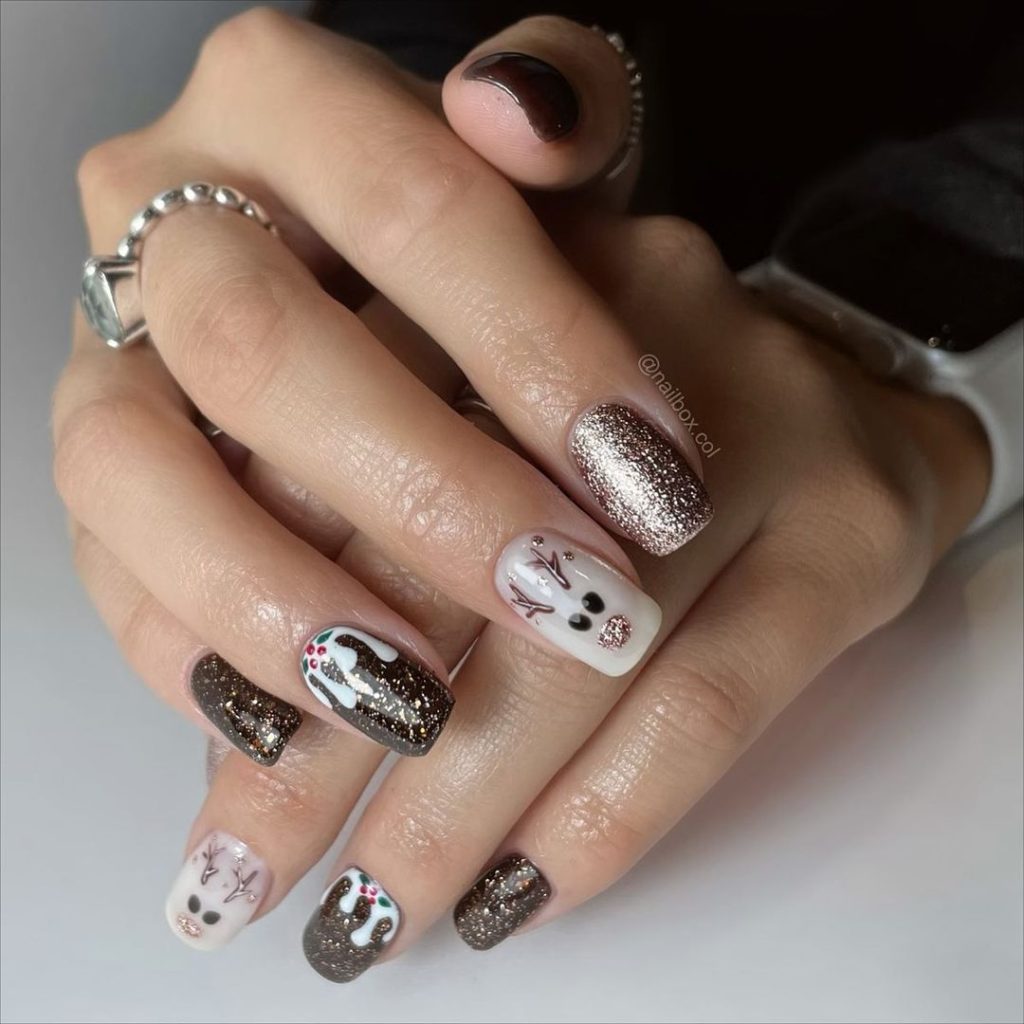
Using @the_gelbottle_inc No Rules, Chocolate, Blanc & Rose Gold @brillbirduk GO01 @officialnavyprofessional Prep & Balm – Inspo @cocosnails_
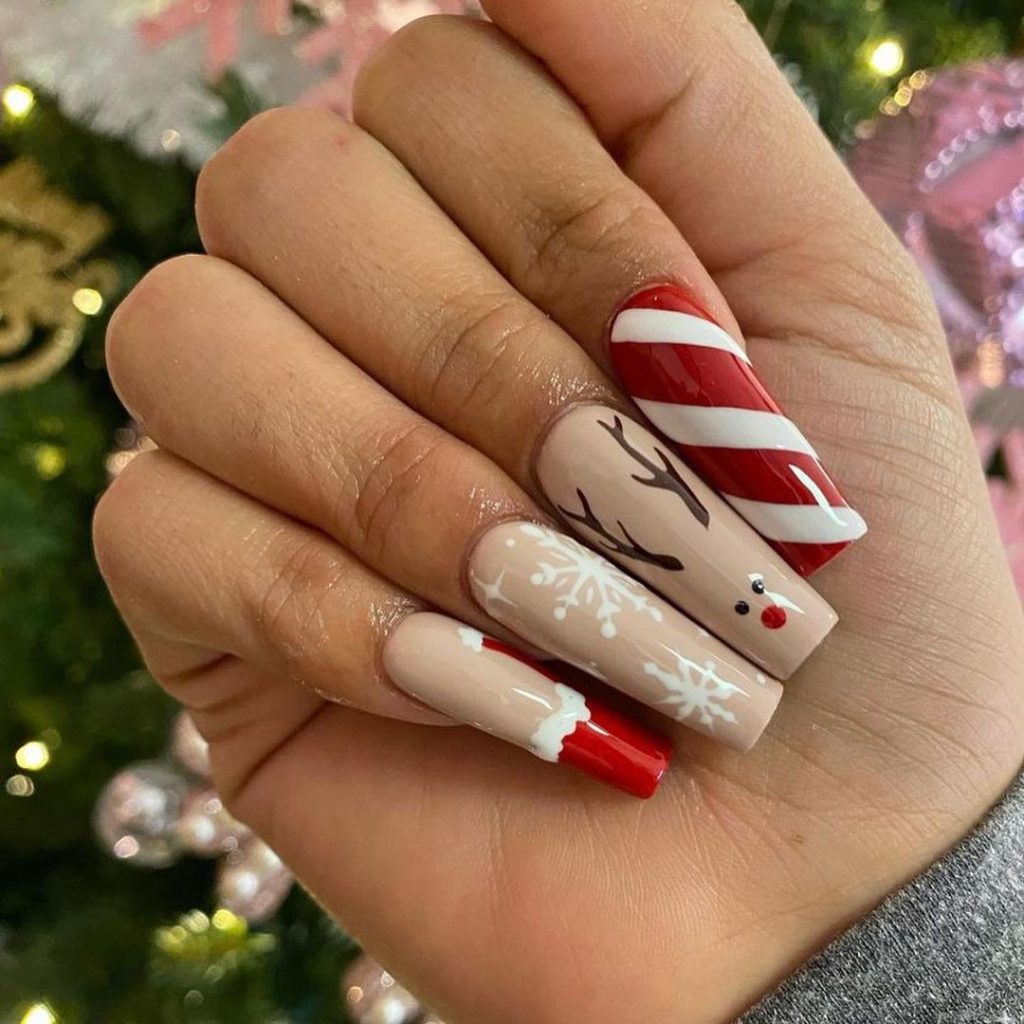
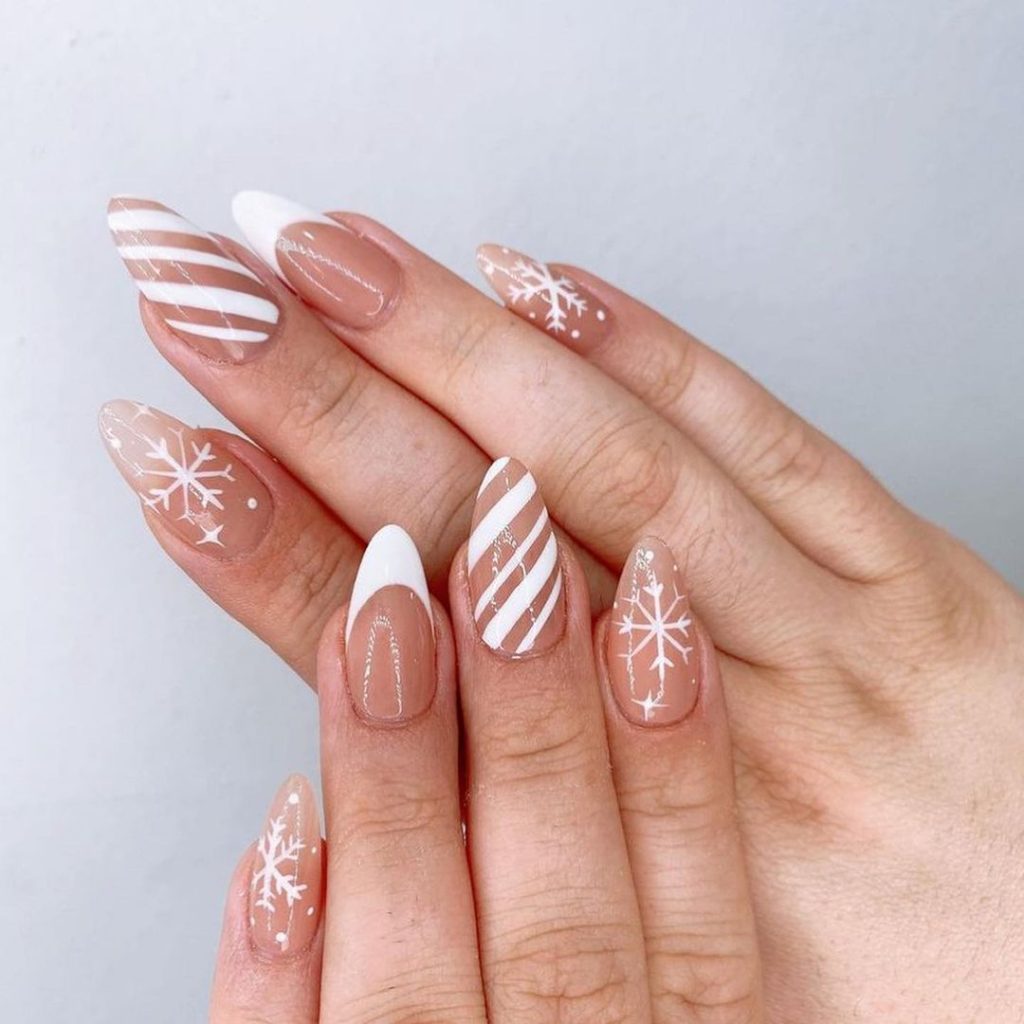
Christmas nails candy cane
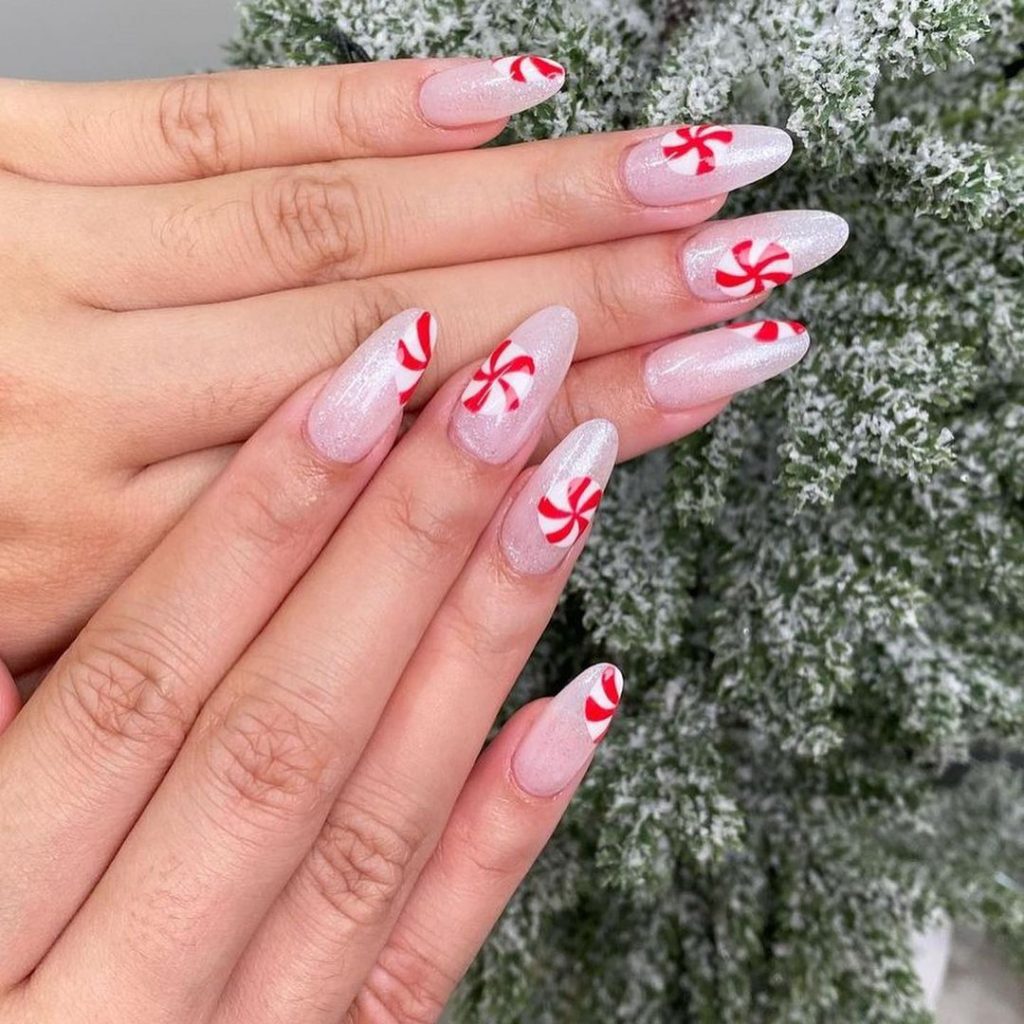
Santa Christmas Nail Art
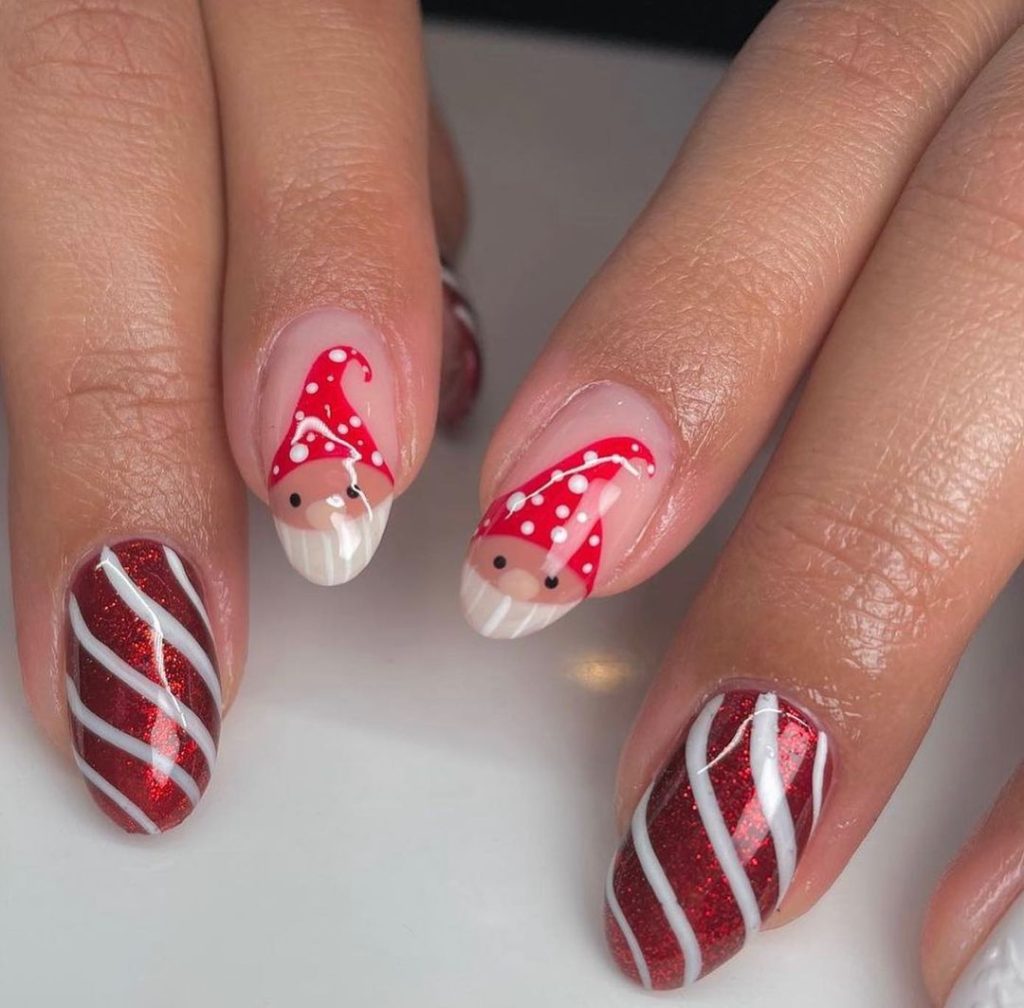
Colorful Winter Christmas Festive Nail Art
